Let's get to know the Order side of OrderDog! Please watch the following video, or read the content below for a step-by-step guide on how to create an order using our scanner.
(There is also a PDF version of this guide attached to this page for your convenience.)
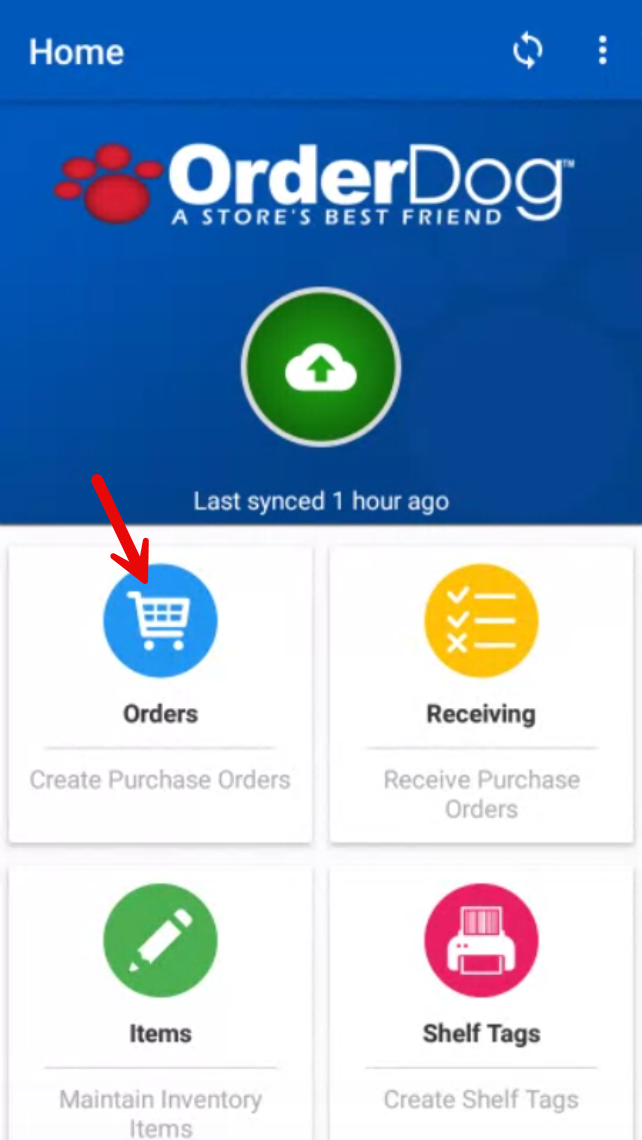
- Starting on the Home screen, press “Orders”.
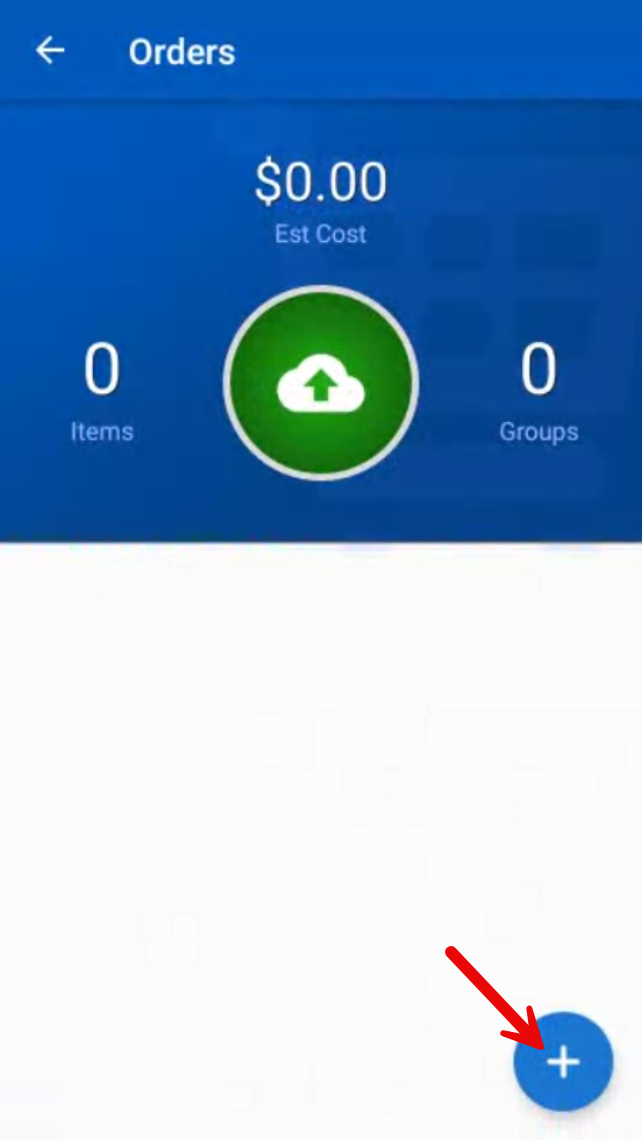
- Select the “+” button to begin adding products to an order.
- From here, you can:
- Scan Product
- Setup Group name
- Type in UPC or Item ID
For this example, we’ll first scan an item.
- This is the “Item Summary Screen”. First, note the “Preferenced Vendor” tab. It defaults to your preferred vendor as noted by the red star. If you want to order from a different vendor, select another option from the drop-down menu.
Note how some of the details for the item have changed when selecting a different vendor. You can also see when items are discontinued, and therefore not available for ordering.
- The “DETAILS” tab outlines information including:
- Prices (Wholesale/MSRP/Store)
- Items On Hand/In Transit
- Pack information
- Open Orders
- Additional details
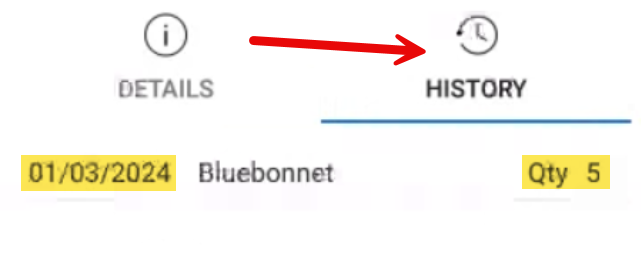
- You can view the order history of the item by tapping “HISTORY”. This lets you review all past orders of the item.
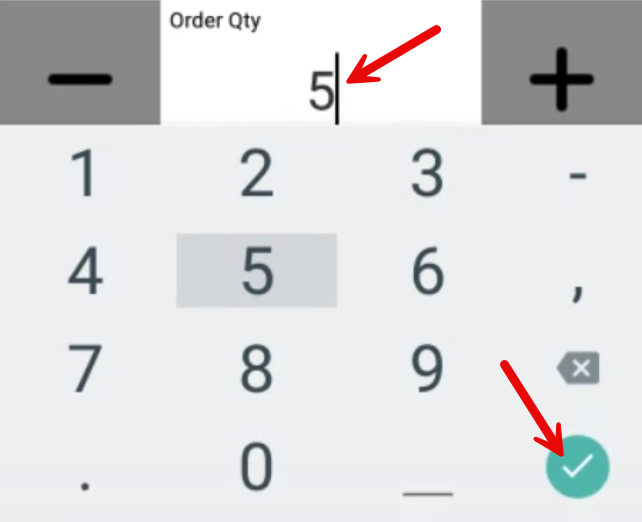
- Enter the “Order Qty” using the “+” and “-“ buttons. You can also enter the “Order Qty” by tapping the number and typing it in. Press the checkmark to save your changes made to the quantity.
- When you finish entering everything, scan or enter the UPC for the next product you want to order. No need to exit out of this screen or press a save button of some kind. OrderDog automatically saves your changes as you go, and will automatically add each item you scan to the order. You will be able to make edits to previously scanned items in a later step in this guide.
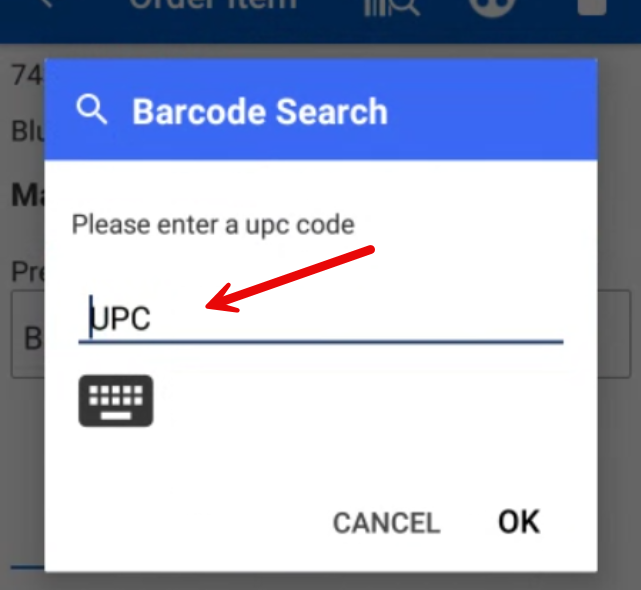
- To add an item using the UPC, tap the UPC icon on the top right. Then, enter the item UPC code.
- Review the item details and history as needed, then enter the preferred vendor and order quantity, just like we did for the previous item. Repeat this process until every item you want to order has been entered.
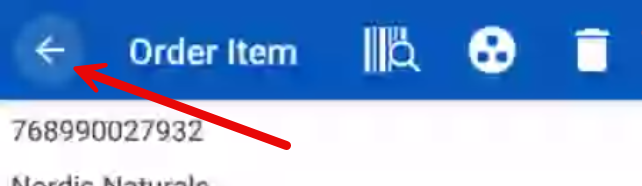
- When all items are entered for the purchase order, go back by selecting the back arrow.
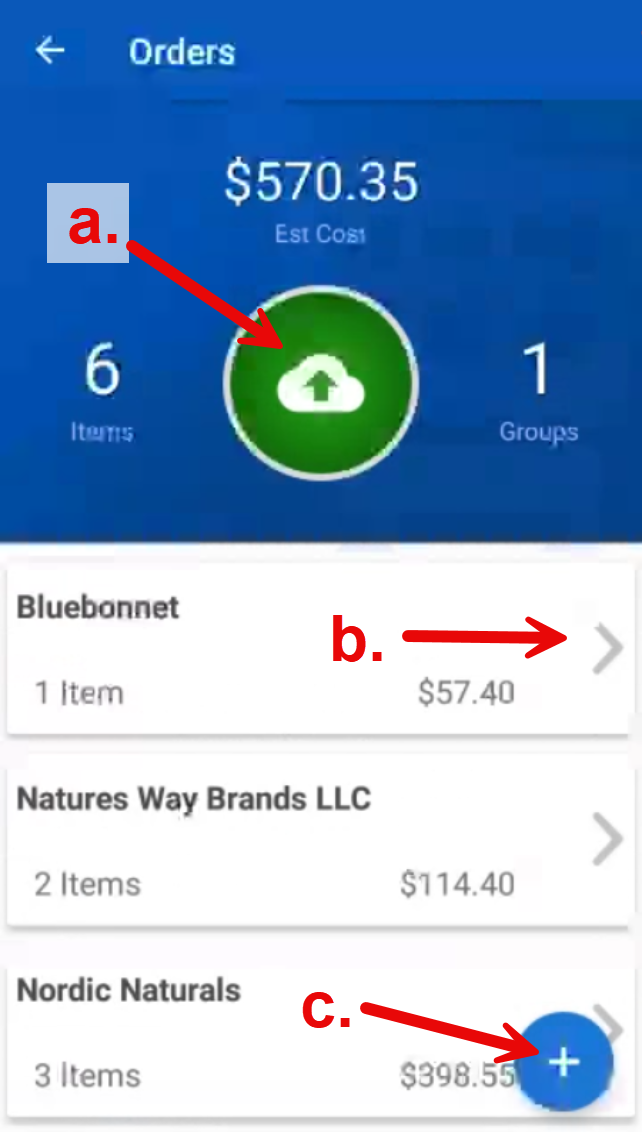
- This is the Order summary screen. From here, you can:
- Upload all orders using the green upload button in the center.
- Select vendor orders to edit and/or upload individually.
- Continue to add products using the “+” button in the right corner.
- Also note how the orders are grouped by vendor. To help track spending, you can review the order cost per vendor. The total estimated cost is also displayed at the top.
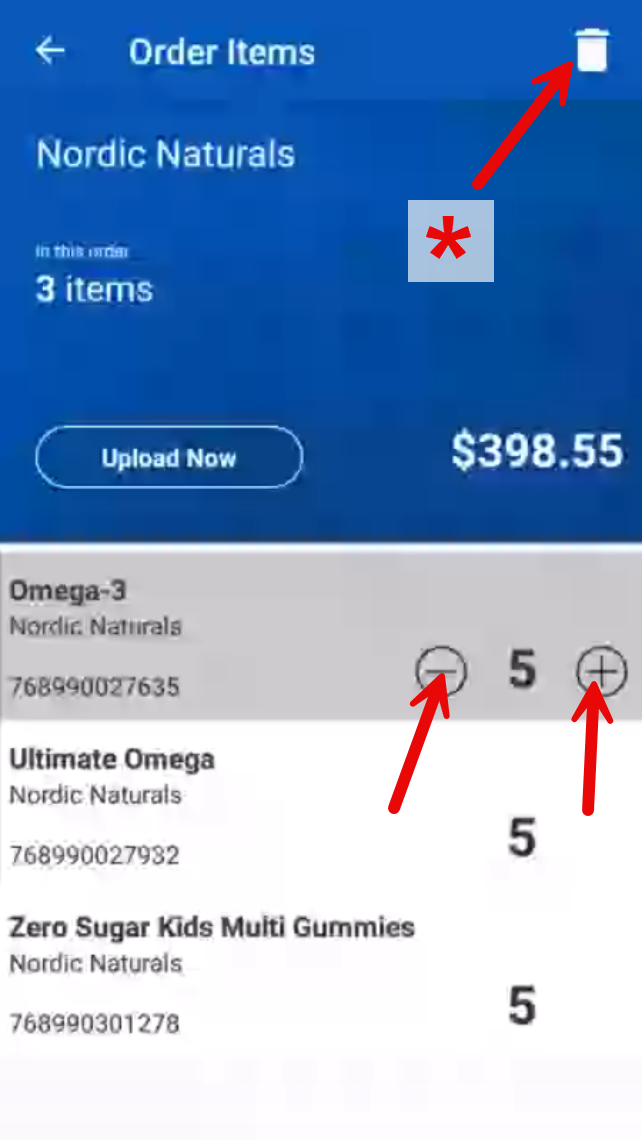
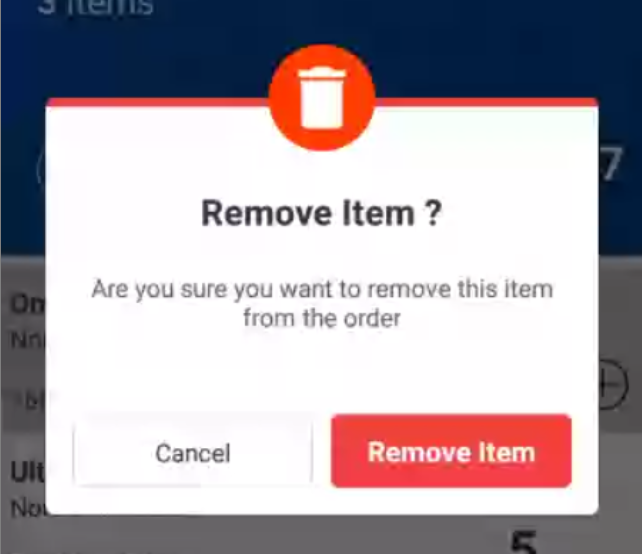
- If you want to remove an item from the order, tap the vendor the item is listed under. To remove a single item under this vendor, click the “-“ button until the item reaches “0”. You can also use the “-“ button to take off part of the quantity rather than the entire item off the order, or you can even add to the quantity using the “+” button. If you want to delete all items from the vendor off the order, click the trashcan in the right hand corner. *Note: This will delete ALL items under this vendor. It is suggested that you go through each item individually if you do not intend to get rid of them all.
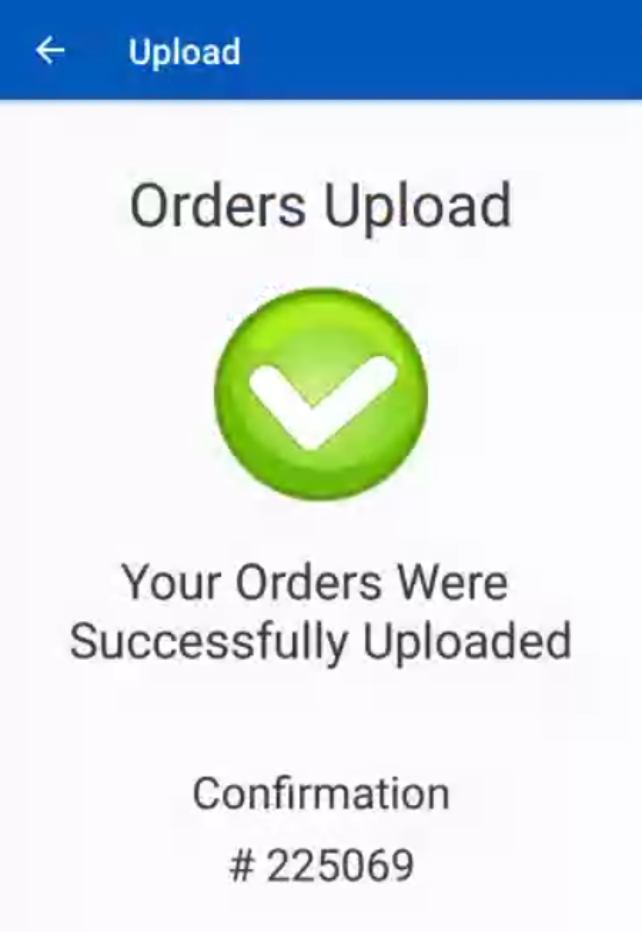
- When all the vendor orders are ready, tap the green upload button on the previous screen. You will get a confirmation screen that states “Your Orders Were Successfully Uploaded”. Your order is now waiting for you to send on the OrderDog portal. To complete this order by sending it to the vendor, check out the next step of our guide on sending orders using the OrderDog portal. Otherwise…


YOU’RE DONE!
Once you have you've tried out ordering through the mobile scanner, you are ready for the next step, which is Step 3.2 - Sending an Order using the OrderDog Portal.
There is also a PDF version of this guide attached to this page for your convenience.
McKennan Jones
Comments