Please watch the following video, or read the content below for a step-by-step guide on how to receive without an existing purchase order on the mobile scanner.
(There is also a PDF version of this guide attached to this page for your convenience.)
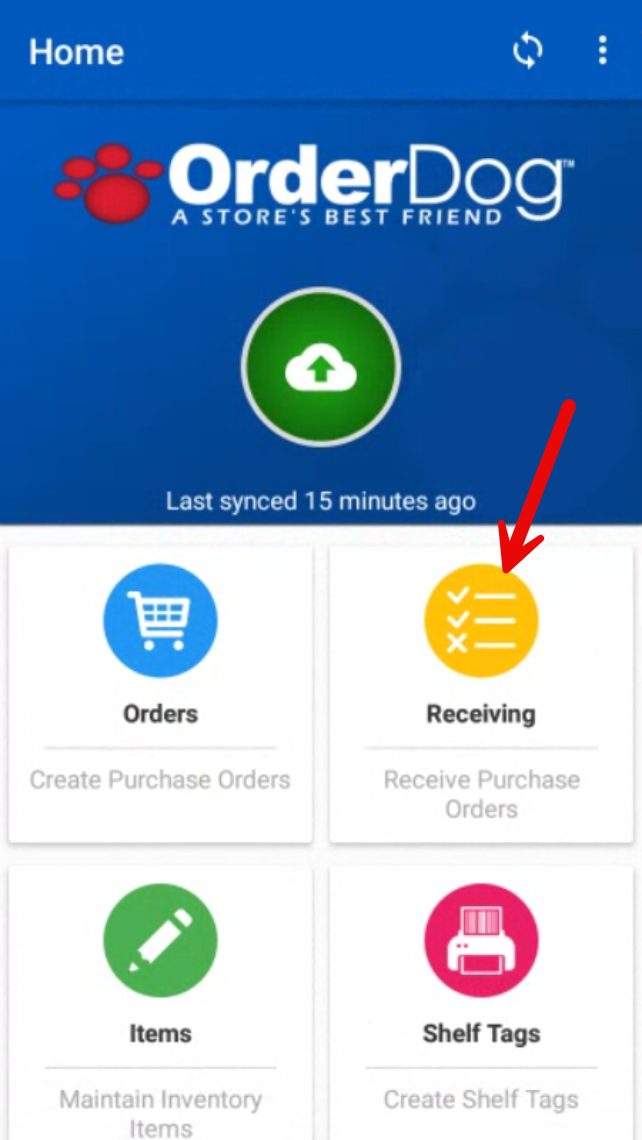
- Starting on the Home screen, press “Receiving”.
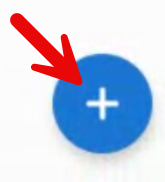
- Select the “+” button to begin receiving an order.
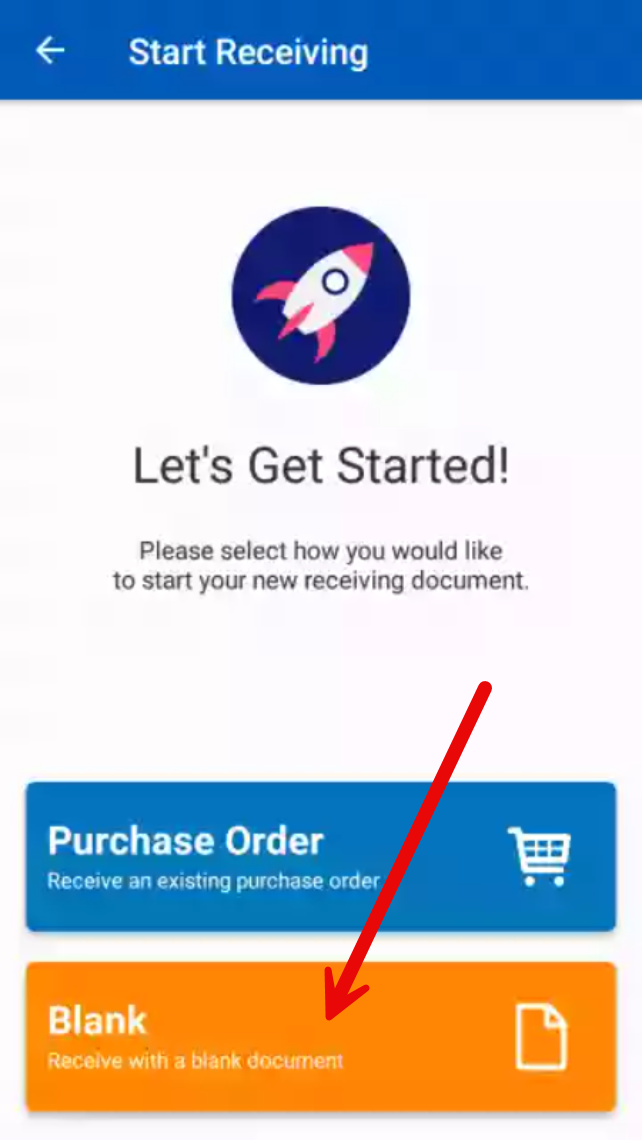
- Select “Blank”.
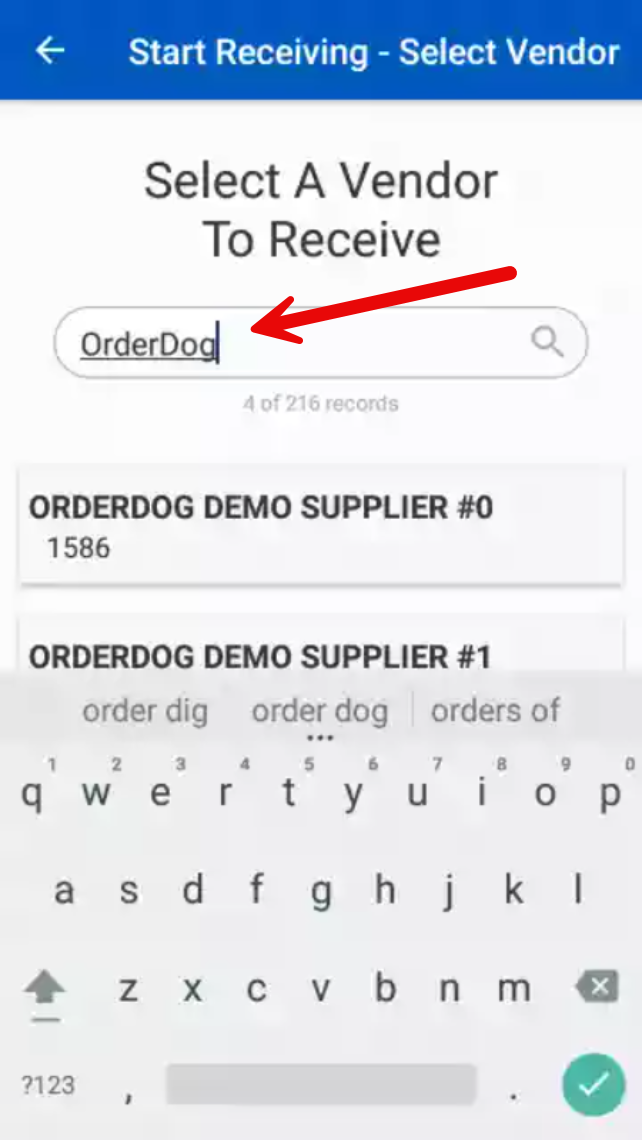
- Type your vendor’s name in the search bar or scroll down to find your vendor.
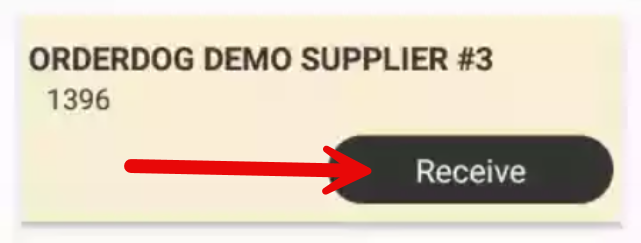
- Select your vendor, then tap "Receive".
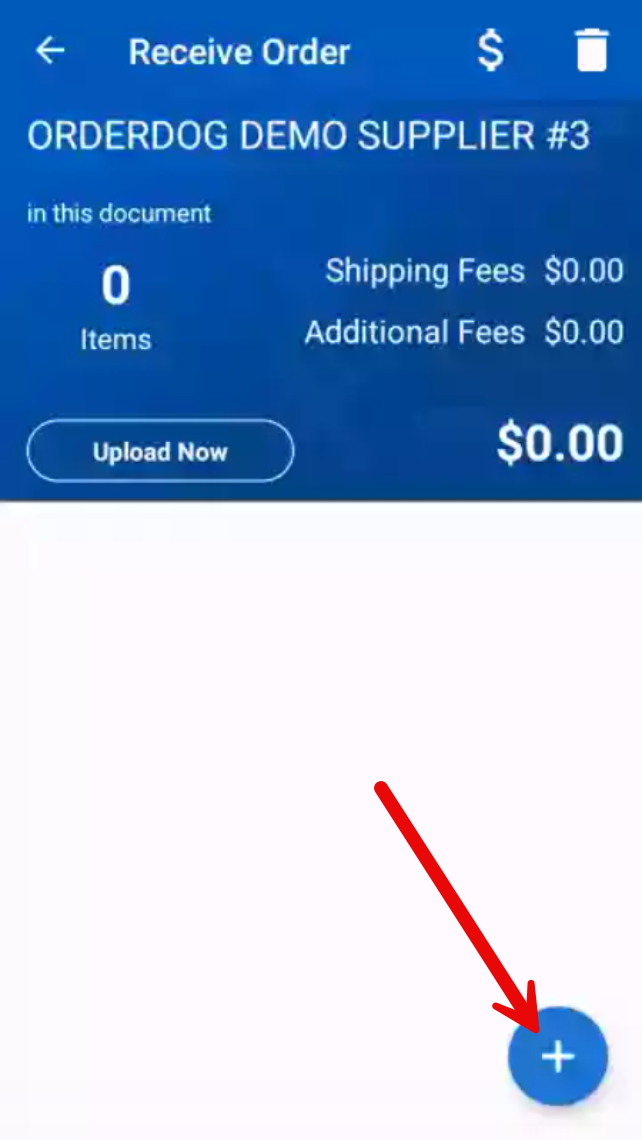
- We are now on the receiving summary screen. To begin receiving items, press the “+” button.
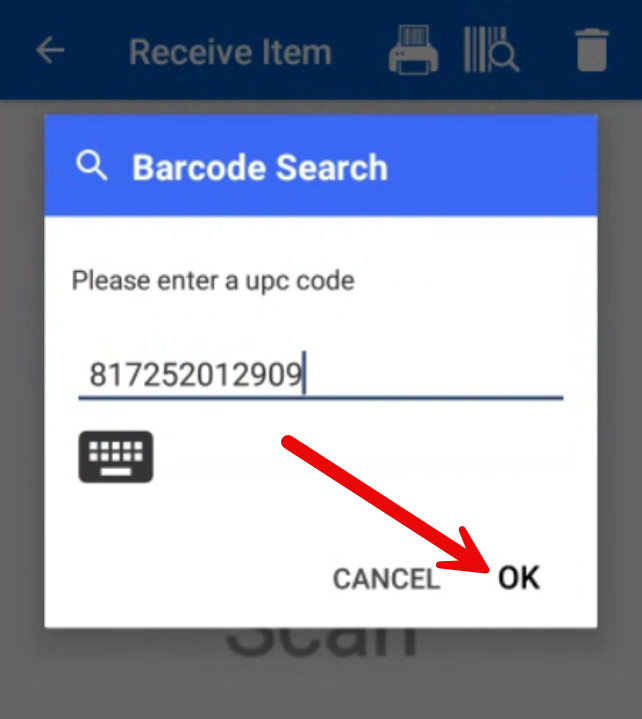
- Either scan the received item or enter its UPC manually using the barcode and magnifying glass icon. Make sure to press “OK” when you are done typing the UPC code if you enter it manually.
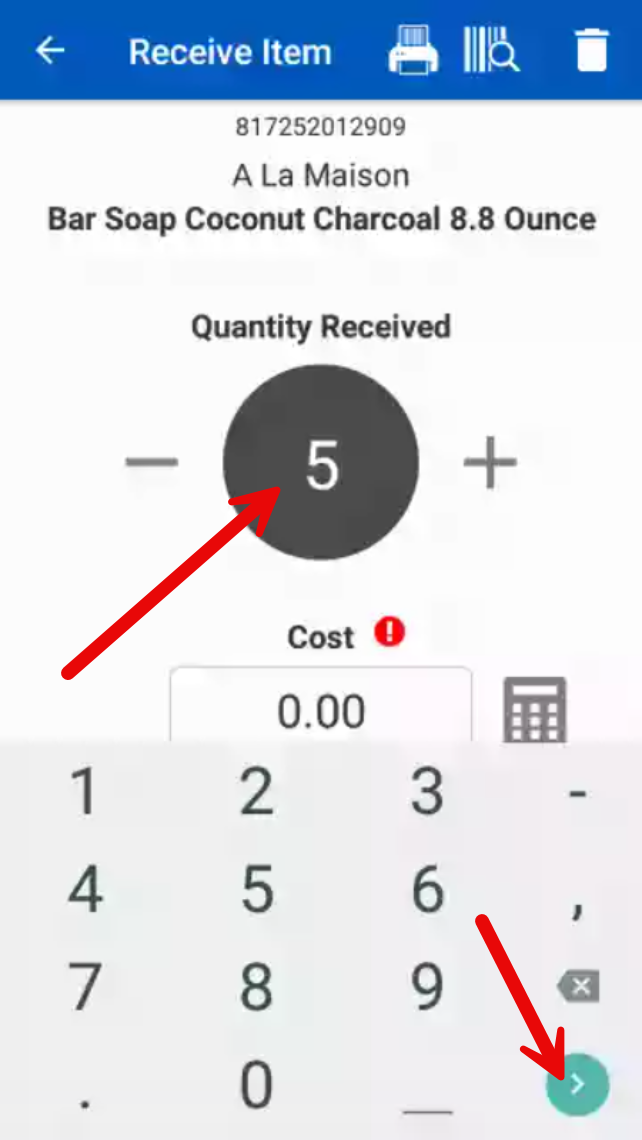
- From here there are 3 ways to update the quantity received:
- Scan each individual item to update the quantity
- Use the “+” and “-“ buttons
- Tap the black circle and type the number received
NOTE: When receiving larger quantities, it’s easiest to tap the black circle and type in the number rather than repeatedly scan or tap the “+” button.
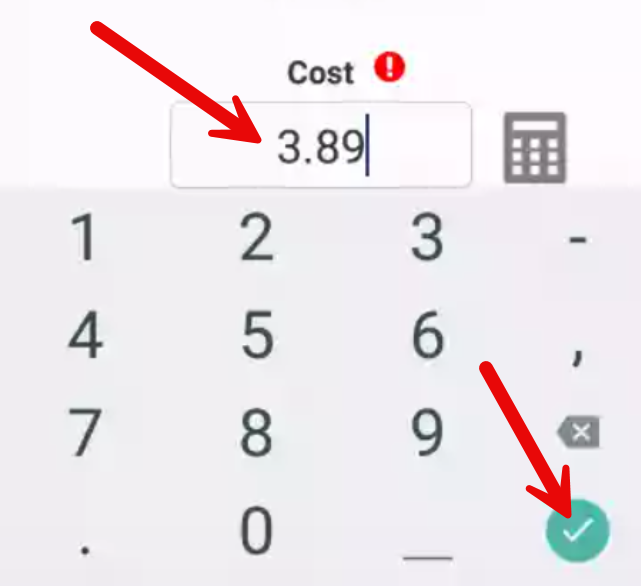
- Enter the cost of an individual item in the cost field. OrderDog will do the calculating for you.
- Repeat this process until all items are scanned.
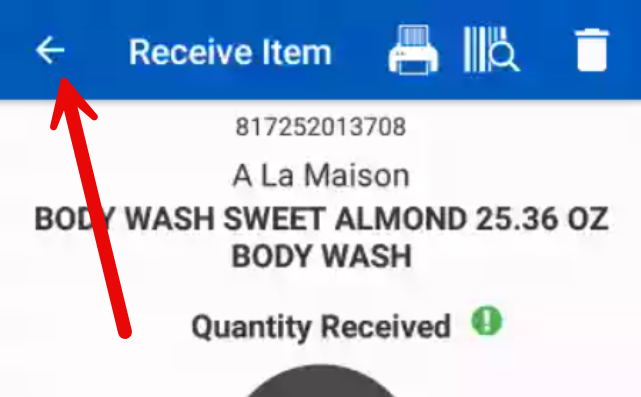
- When you’re done scanning, select the back arrow to return to the summary screen.
- You can see the quantity received for each item and the cost you have entered for the item on the receive order summary screen.
- If you need to edit an item, tap on it to update it.
- When you’re done editing the item and verified the information is correct, select the back arrow again to return to the summary screen. You can edit items like this as many times as you need to before uploading the receiving document.
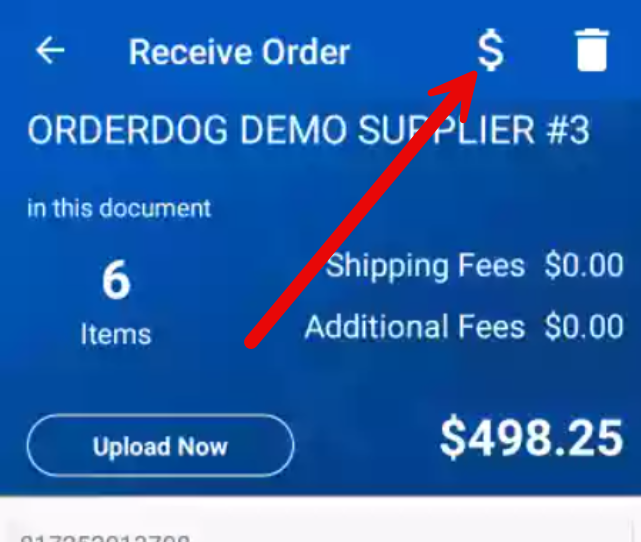
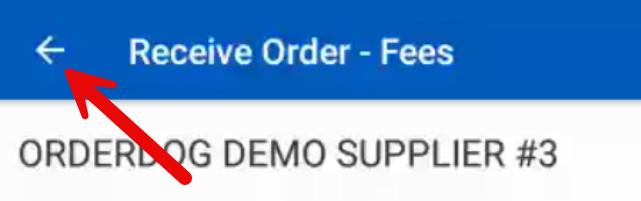
- Select the “$” (dollar sign) icon at the top to add shipping fees, any additional fees, and a reference number.
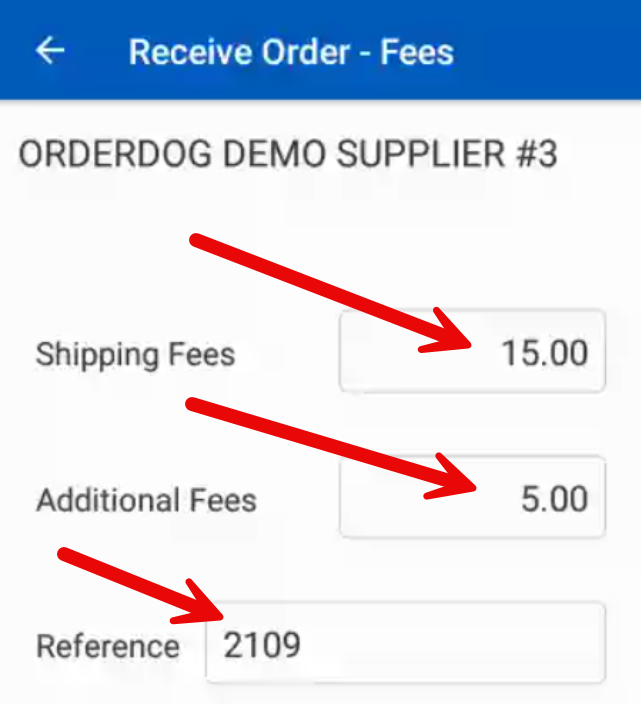
- Tap on the textboxes on the right to update these fields.
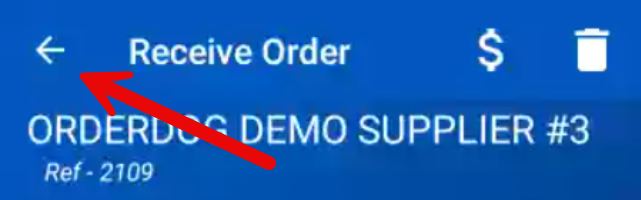
- Select the back arrow when you’re finished.
- If you have more than 1 vendor to receive from, select the back arrow again.
- Select the “+” button to add another vendor to receive from. Using the same process we just outlined, you can receive as many additional vendors as you need to before uploading, by adding additional vendors on this page.
- When you are ready to upload, there are two ways to do so:
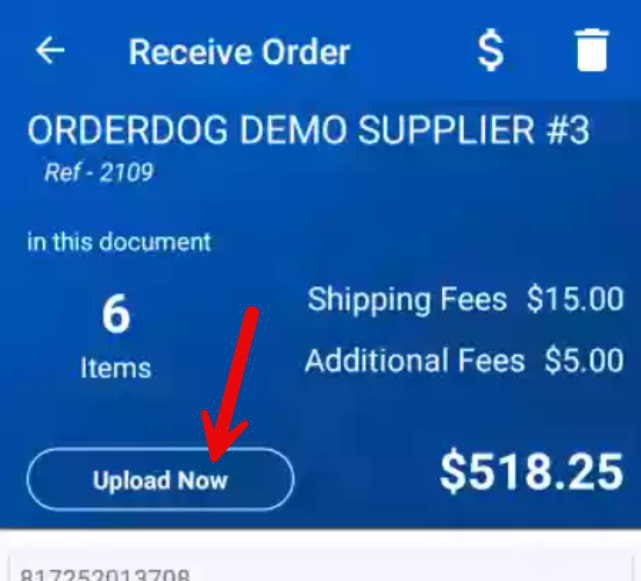
- If you need to upload only one receiving document, make sure you are on the summary screen for that specific receiving document. From here, press the “Upload Now” button, which is in the blue section on the top of the screen, on the bottom left.
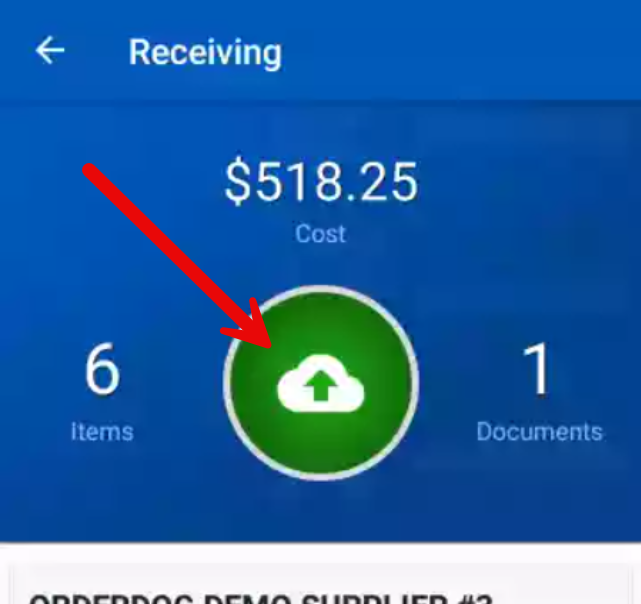
- If you want to upload all of your receiving documents at once, go back to the “Receiving” summary screen, where you can press the green upload button in the center.
NOTE: This will upload all of your receiving documents at once. If you are still editing even one of your receiving documents, you should individually upload all the other receiving documents instead so you can continue to edit any unfinished documents that have been added.
- If you need to upload only one receiving document, make sure you are on the summary screen for that specific receiving document. From here, press the “Upload Now” button, which is in the blue section on the top of the screen, on the bottom left.
- Once you have uploaded your order(s), you can find your receiving order document on the OrderDog portal to review and have record of. Otherwise…

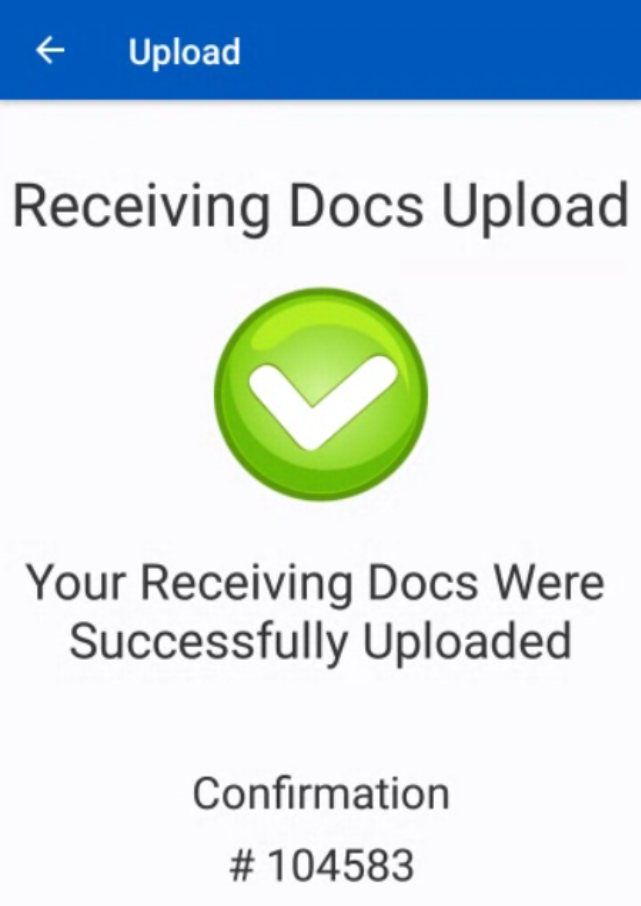
YOU’RE DONE!
There is also a PDF version of this guide attached to this page for your convenience.
McKennan Jones
Comments