Please watch the following video, or read the content below for a step-by-step guide on how to create and send an order using our portal.
(There is also a PDF version of this guide attached to this page for your convenience.)
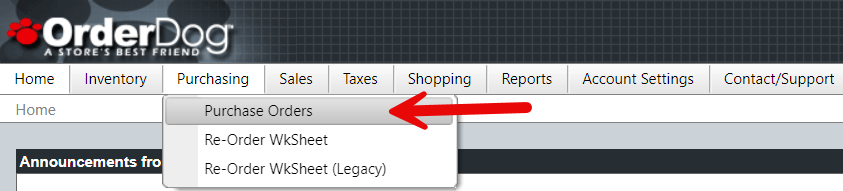
- Starting on the OrderDog Portal, navigate to the Purchase Order page by hovering over “Purchasing”. Then, click “Purchase Orders” from the dropdown menu.
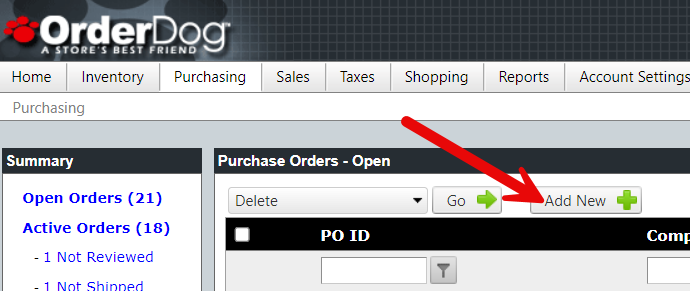
- Click "Add New".
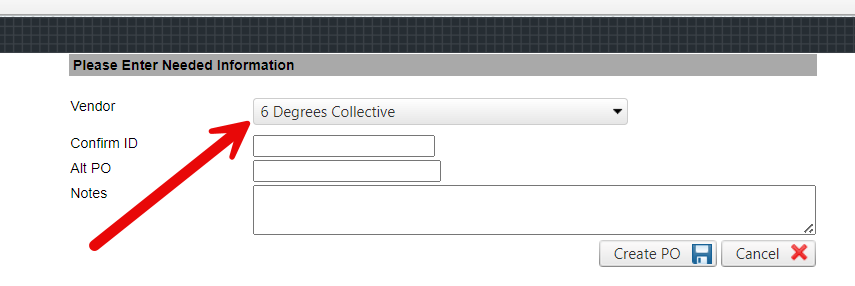
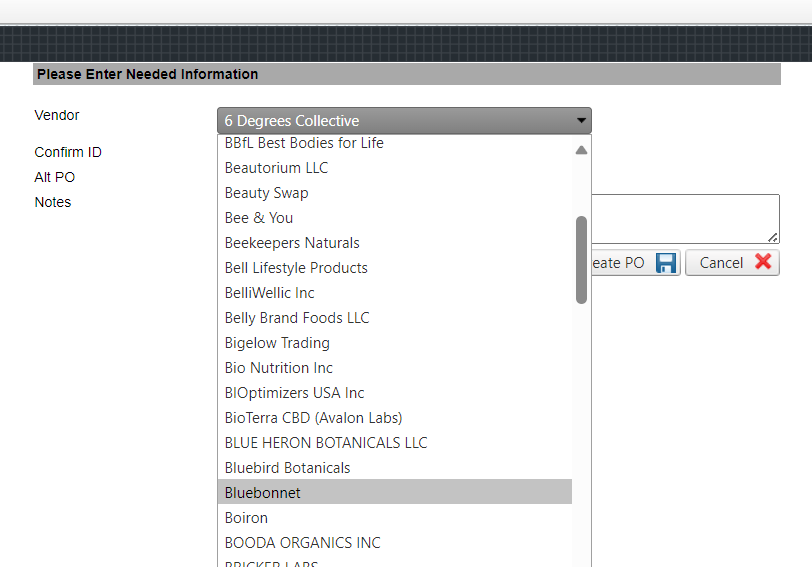
- Click the dropdown menu and find your Vendor.
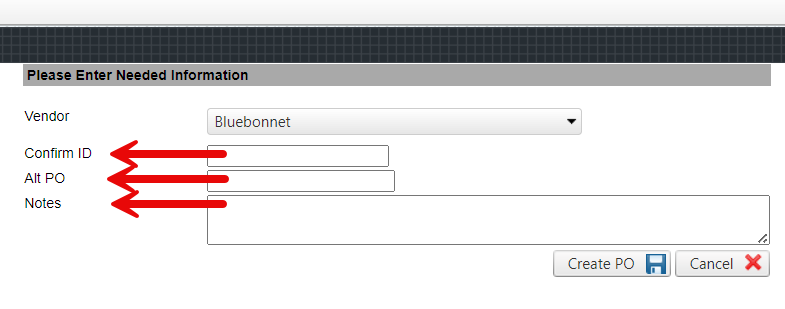
- The next 3 fields are optional:
- Confirm ID
- Alt PO
- Notes
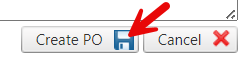
- Click "Create PO".
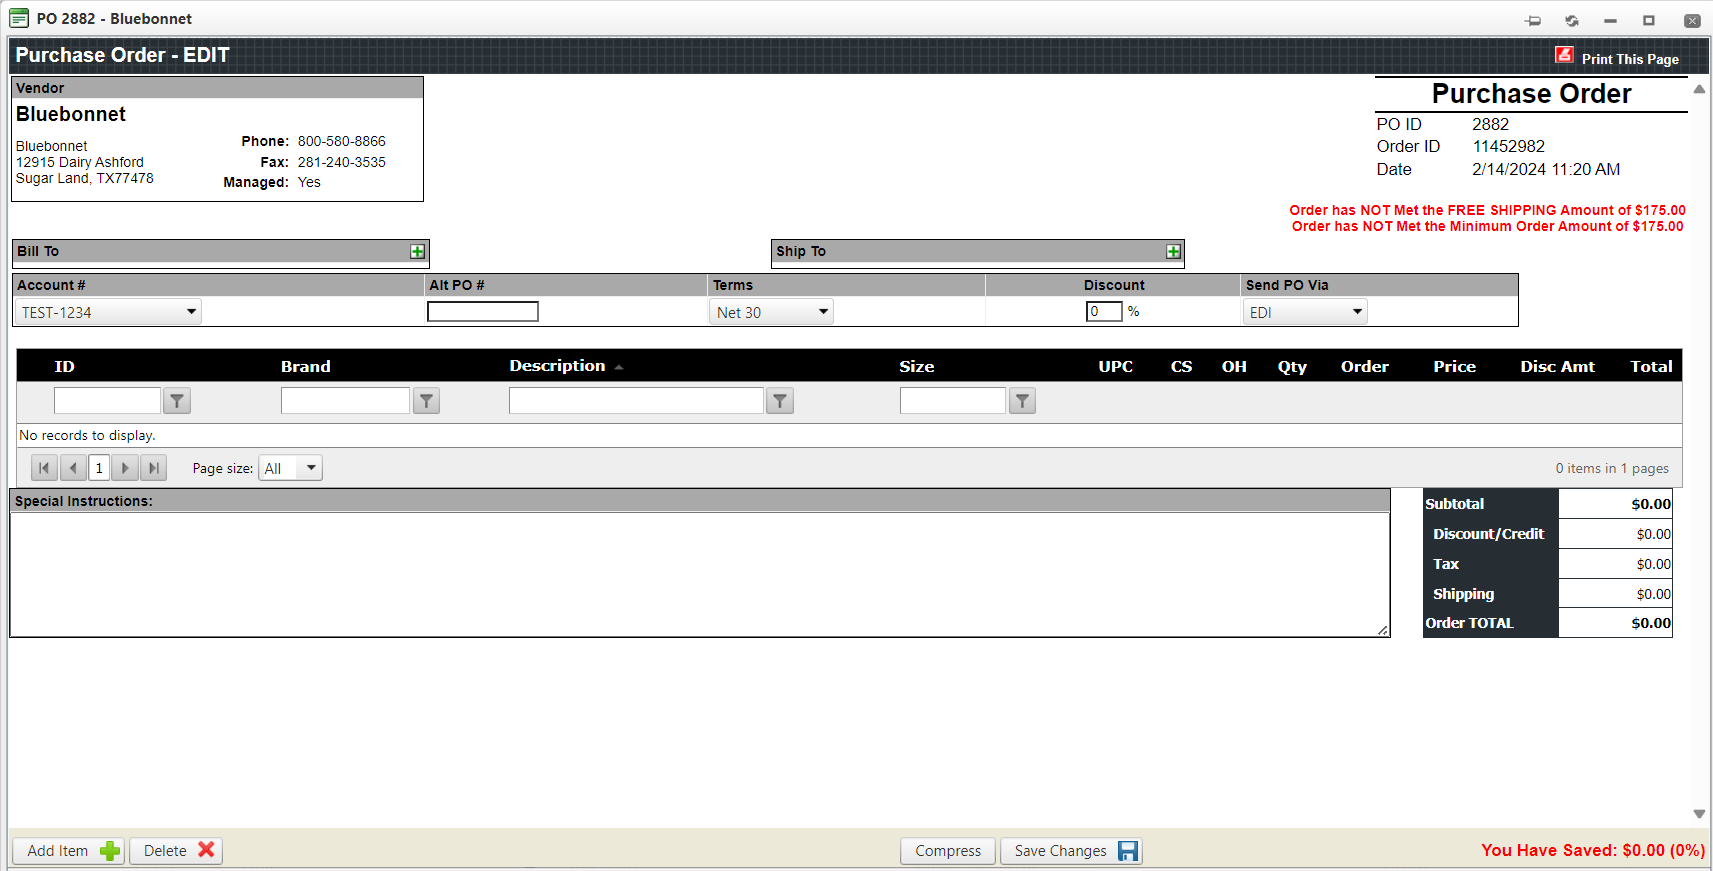
- This is the Purchase Order Edit screen. Here, we can add items, change item quantities, delete items, and send an order.
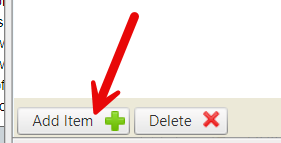
- To add items, click “Add Item” in the lower lefthand corner.
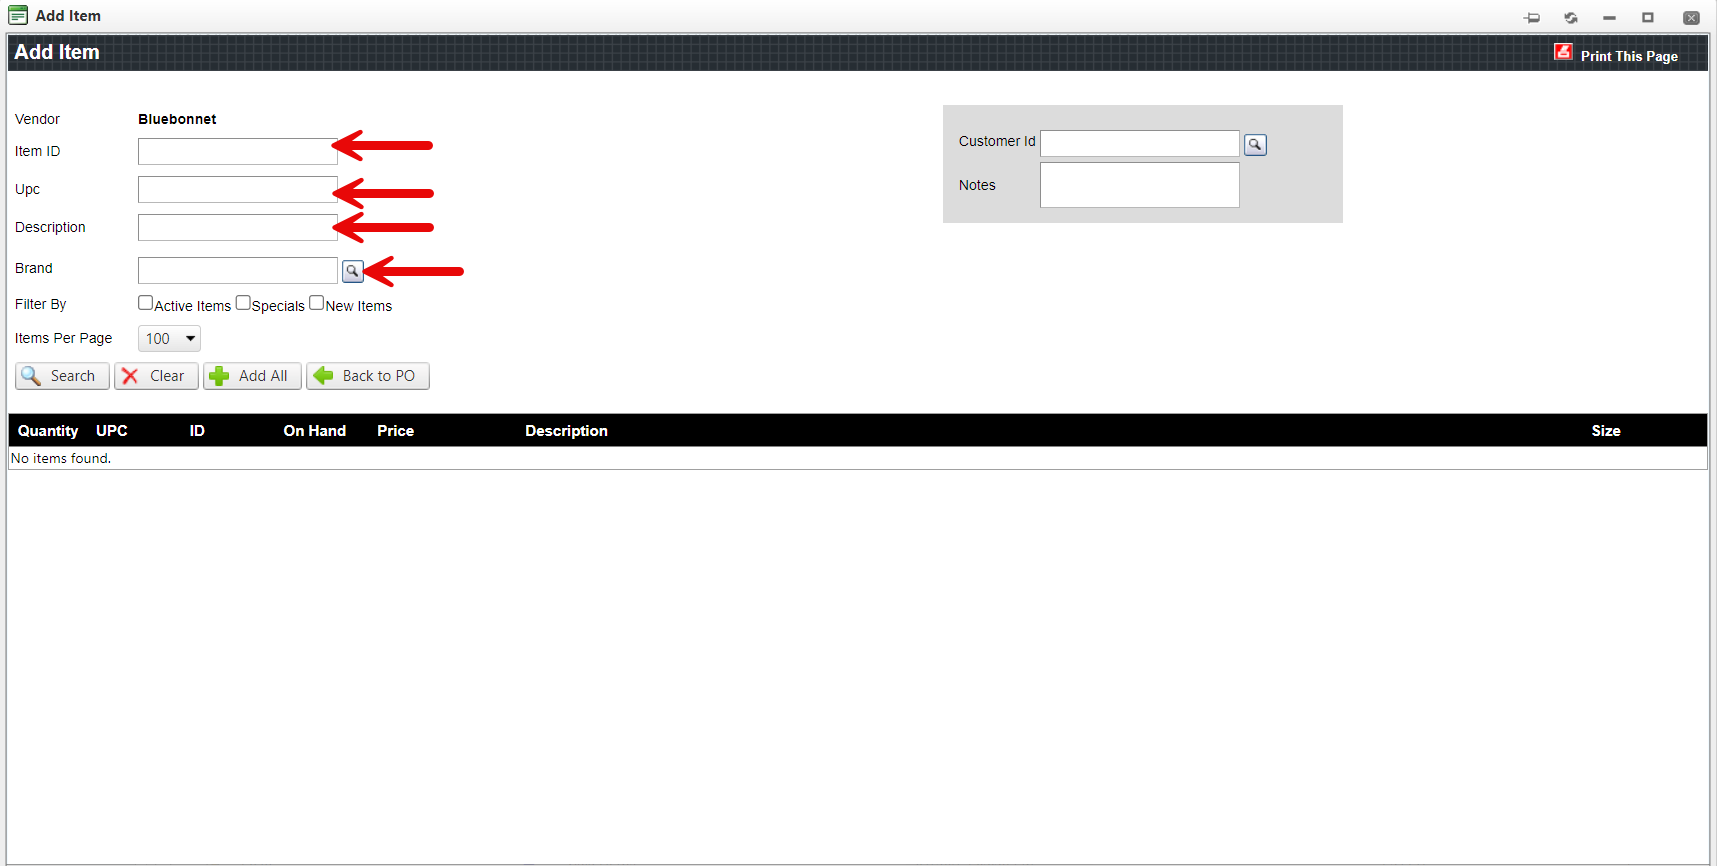
- This is the Add Item screen. Here, you can search the Vendor’s items by item ID, UPC, description, or brand. Alternatively, you can press “Search” without any of the fields filled out to view the vendor’s entire catalog.
-
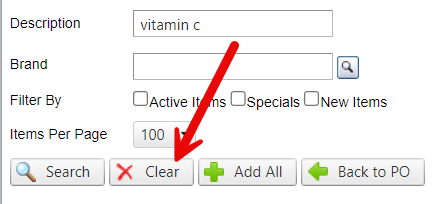
If you want to search for a different set of filters, you can press the “Clear” button to clear all of the text boxes. To confirm, press “OK” on the popup at the top of the screen.
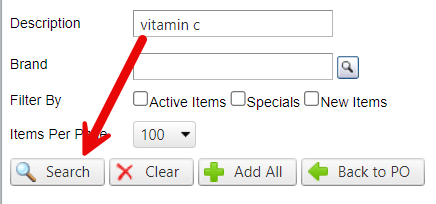
When you have filled out one or more of the previous fields, press “Search” to see the results of your filters.
Otherwise, take a look at the results of your initial search.
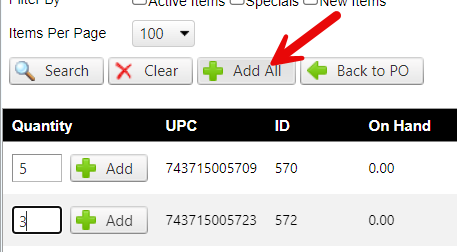
- To add one of the items on the list, input the quantity desired, and then press “Add”.
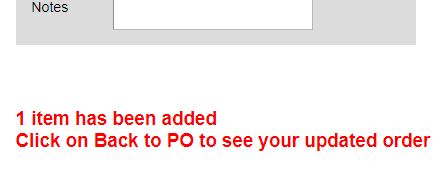
- You can also add multiple items at the same time on the page you are on. Type in the quantity for each of the items you want to add, and then press the “Add All” button. This will add all items with a quantity filled out on the current page to your purchase order. To confirm, press “OK” on the pop up at the top of the screen.
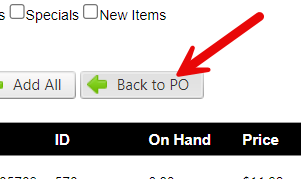
- You can either search for more items to add, or press the “Back to PO” button to see your purchase order thus far.
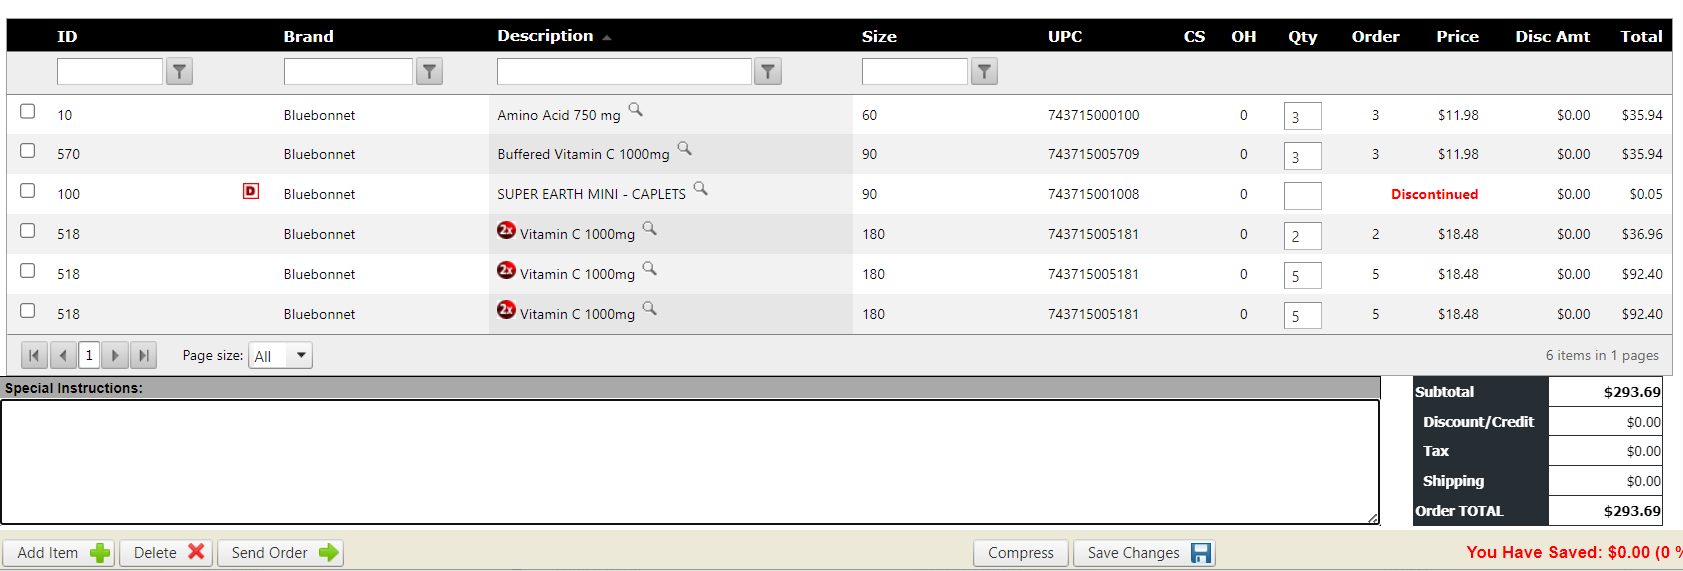
- Back on the Purchase Order Edit screen, you can review the order, make sure the desired items are on it, and change item quantities.
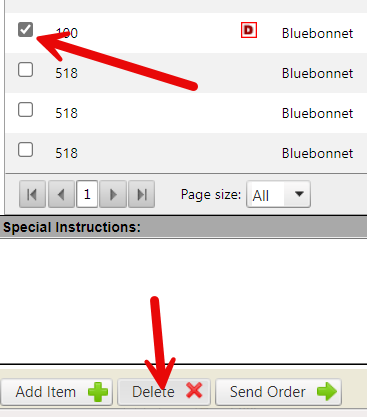
- If you accidentally added items and want to remove them from the Purchase Order, click the checkbox on the lefthand side of the item you wish to get rid of, then click “Delete”. Confirm by pressing “OK”.
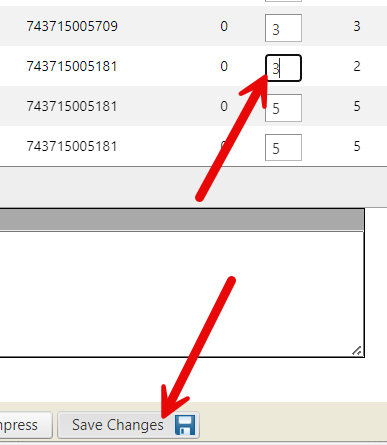
- If you want to change the quantity of any items, click on the box in the “Qty” column and type in the correct quantity. Make sure to click “Save Changes” after updating the item quantities. Click “OK”.
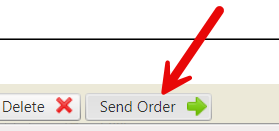
- When everything on the purchase order looks good, hit the “Send Order” button. This will send the order directly to your vendor for processing.
NOTE: If have not met the minimum order amount per the vendor’s guidelines, you will not be able to send your order. You will have to add more items before you can send it.
If you have not met the free shipping amount, you will still be able to send your order, but it will not qualify for free shipping.
- Click “OK” to confirm you want to send the order.


YOU’RE DONE!
There is also a PDF version of this guide attached to this page for your convenience.
McKennan Jones
Comments