Please watch the following video, or read the content below for a step-by-step guide on how to use the purchase order (PO) file import tool.
(There is also a PDF version of this guide attached to this page for your convenience.)
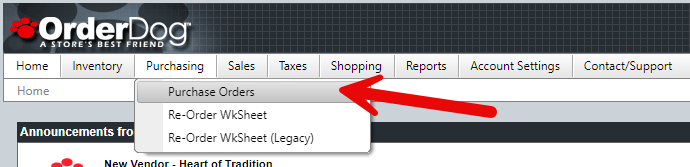
- Start on the OrderDog portal. Navigate under “Purchasing”, and select “Purchase Orders”.
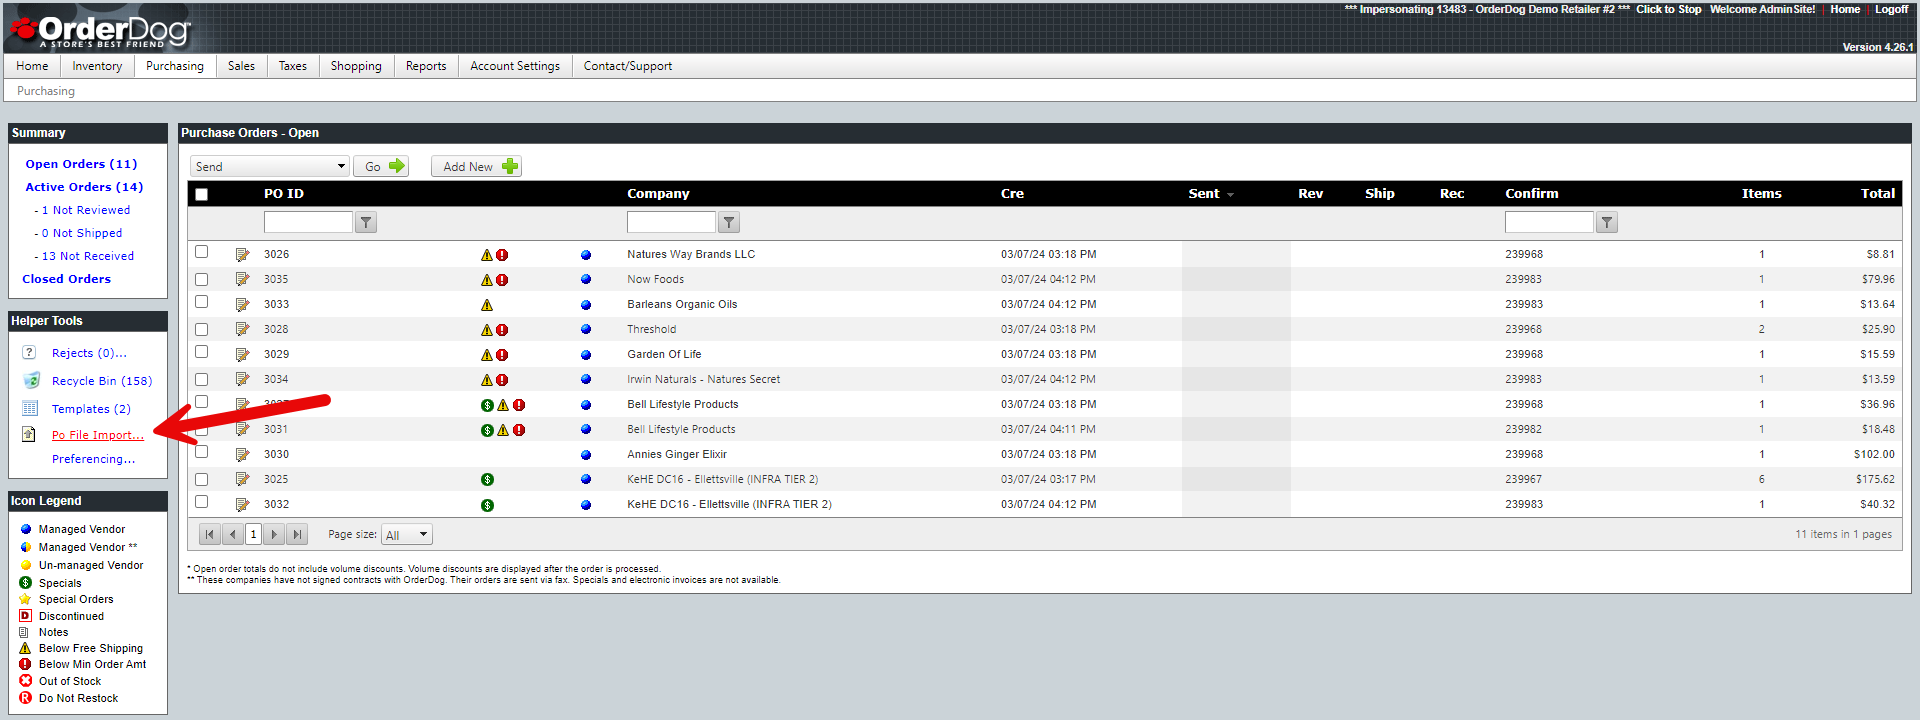
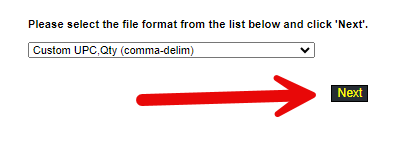
- Under “Helper Tools”, select the “Po File Import…” option. Select “Next” on the pop-up.
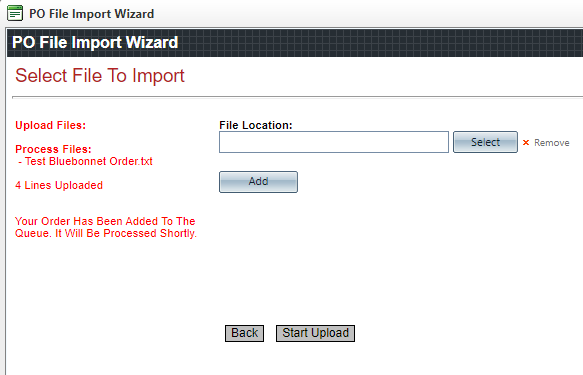
- Press the “Select” button to choose the file you wish to upload, like a .csv file or .txt file. You can upload more than one file at a time by pressing “Add” and selecting additional files. Once you’ve selected the desired file(s), press “Start Upload”.
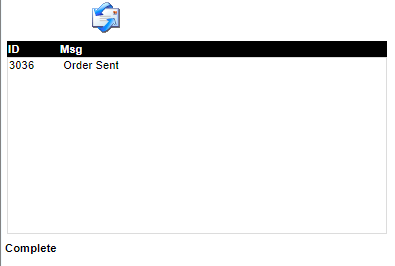
- Confirm that your file has been uploaded by noting the confirmation text that should appear on the left side. When you have confirmed that your order has been uploaded, close the import window.
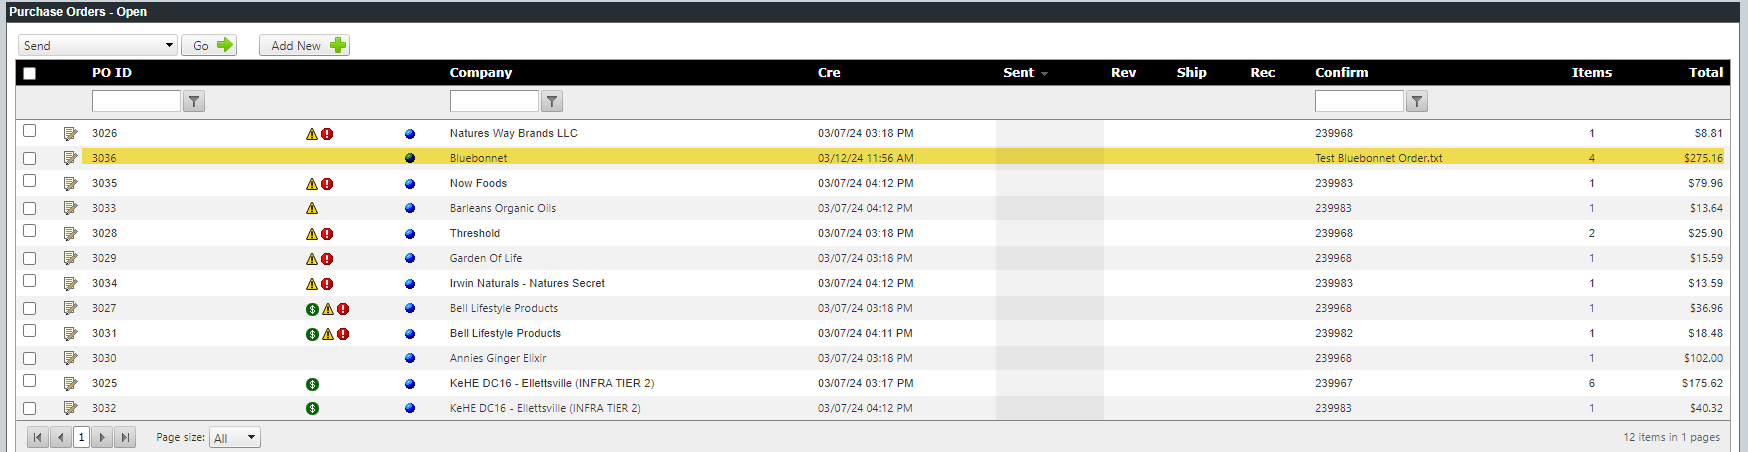
- You can now see your newly uploaded order(s) here, along with any other current orders.
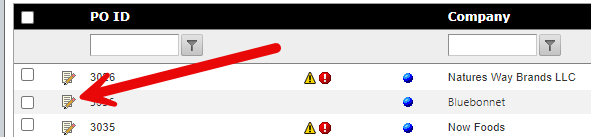
- Click on the pencil icon next to your new order to edit and review it.
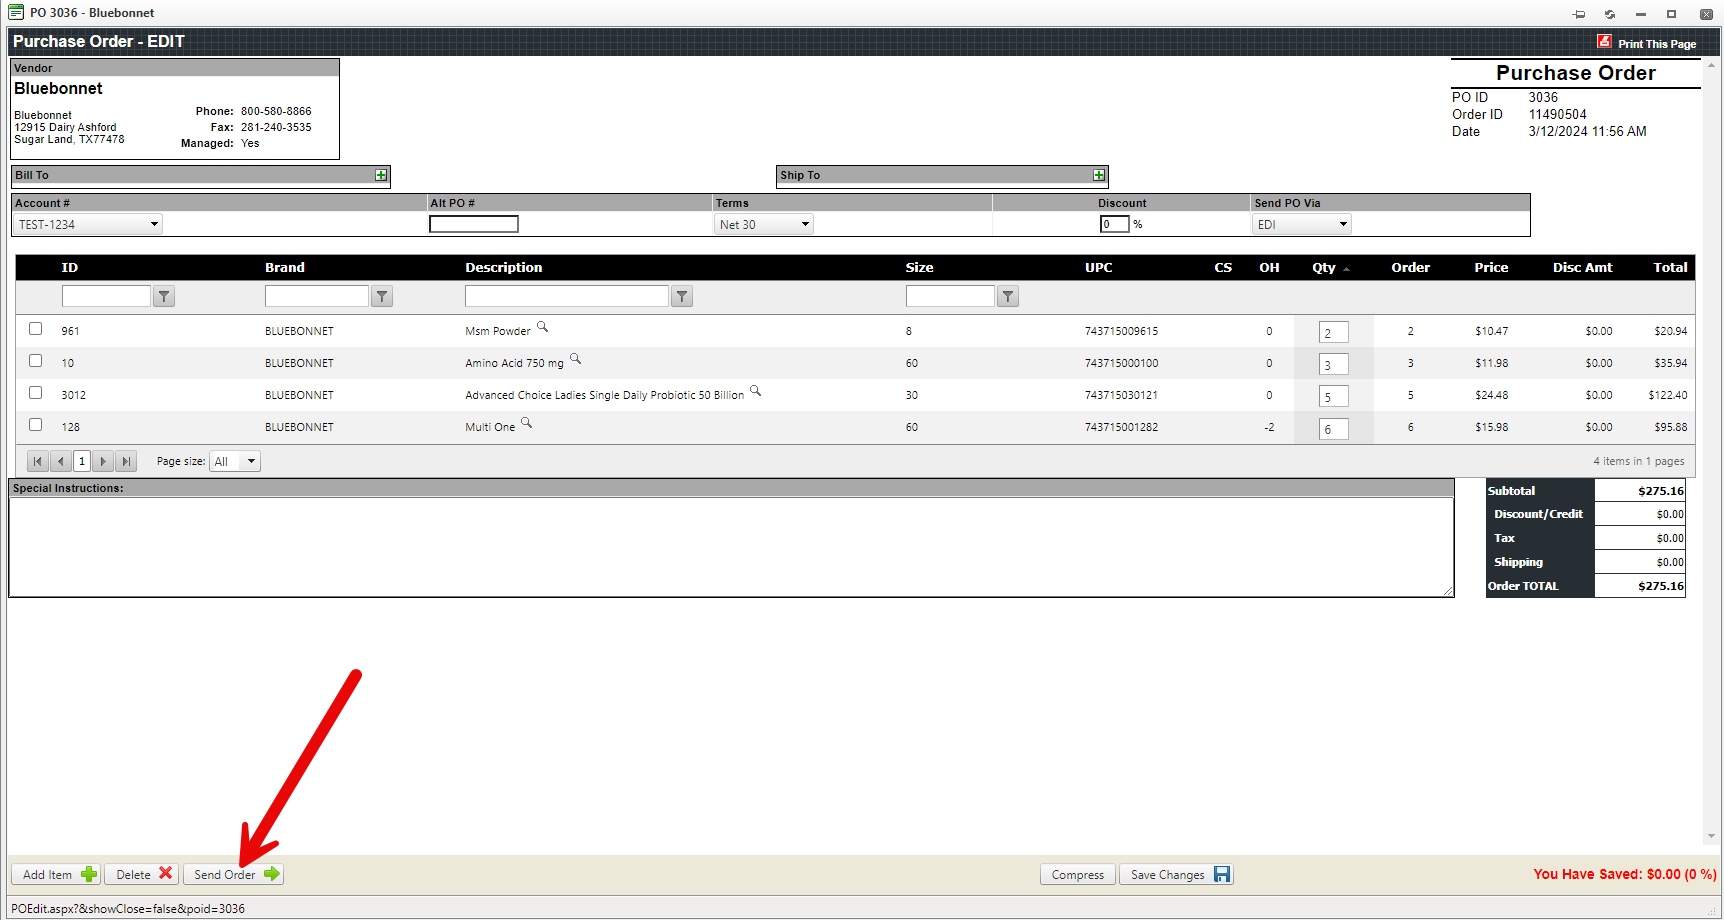
- When you are ready to send the order, click “Send Order”.
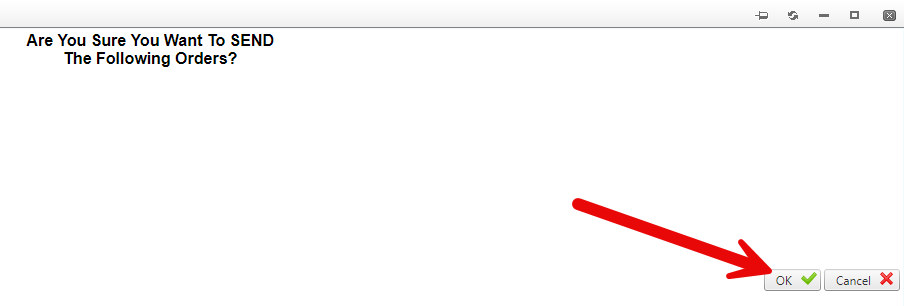
- Click “OK” on the confirmation send screen. Once your order has been sent, you can exit out of this screen.

YOU’RE DONE!
There is also a PDF version of this guide attached to this page for your convenience.
McKennan Jones
Comments