(There is also a PDF version of this guide attached to this page for your convenience.)
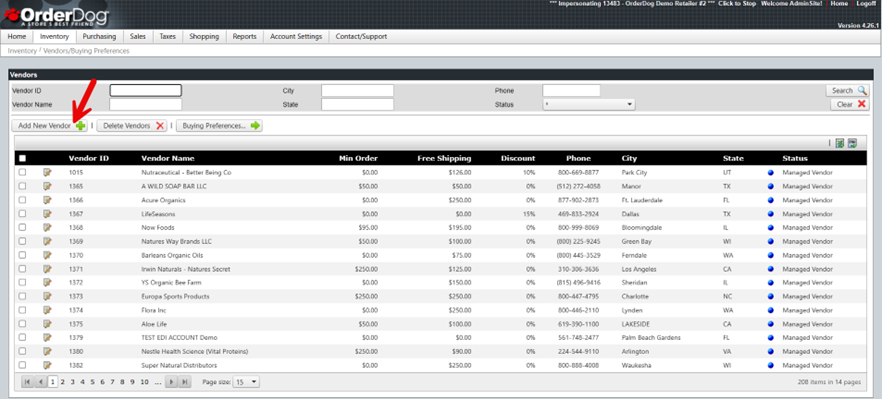
- Starting on the OrderDog portal, navigate up to the “Inventory” drop-down menu. Then, click on “Vendors/Buying Preferences”. On this page, you can add, delete, and edit your vendors.
- Click “Add New Vendor” to open the “Add Vendor” screen.
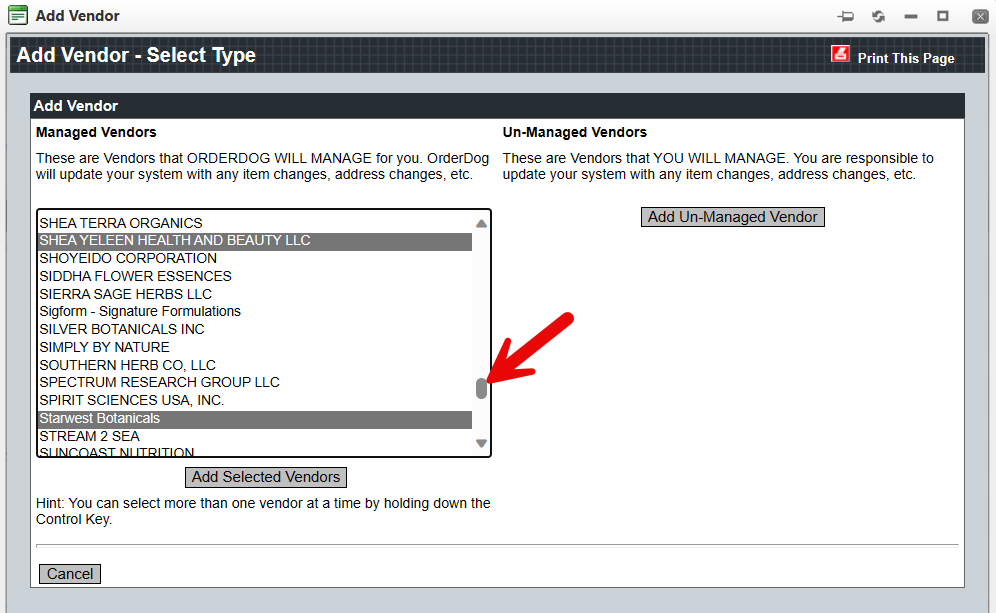
- From here, you can scroll through the list on the left to find the vendor you want to add. Use Ctrl + Click to select additional vendors. To deselect a vendor, Ctrl + Click the highlighted vendor.
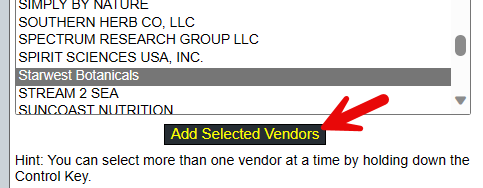
- Once you have selected your desired vendors, click “Add Selected”. You can always come back to this screen later to add more vendors. For now, close this page.
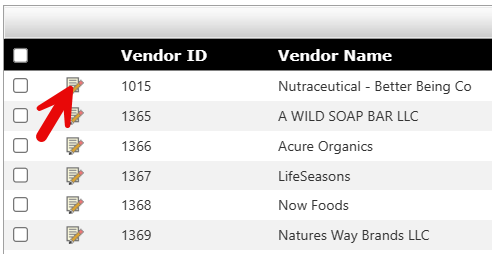
***IMPORTANT: Account numbers must be added for each of these vendors to create orders. We’ll show you how to add account numbers now.
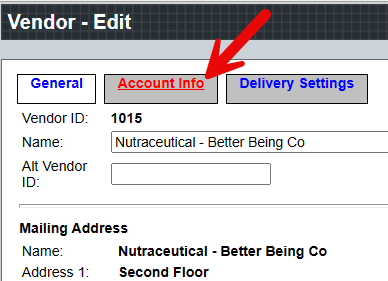
- Click on the pencil icon on the left side of your vendors to open the edit screen.
- Click on the “Account Info” tab.
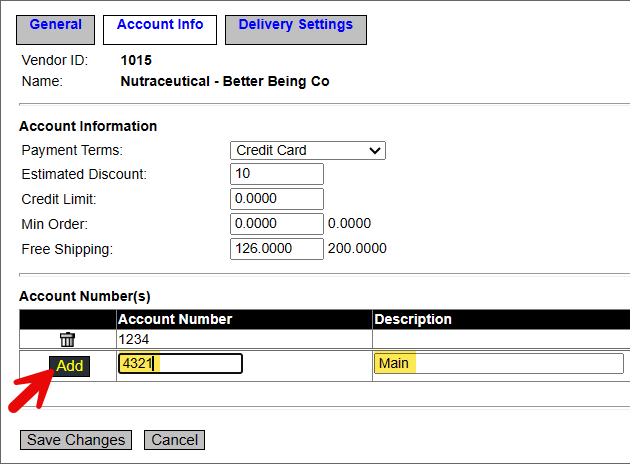
- An account number can be added to the table at the bottom of this screen by entering the number into the "Account Number” text box and clicking “Add”. You can also use the “Description” text boxes to keep track of your account numbers.
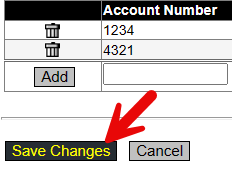
- Repeat this process to add all account numbers you want to use. When placing an order, OrderDog will ask you which account number you want to use.
- Once you have finished adding account numbers, click “Save Changes”.
- Close out of this screen to view and search through your vendors using the search fields.

YOU’RE DONE!
There is also a PDF version of this guide attached to this page for your convenience.
Peter Marino
Comments