Please read the content below for a step-by-step guide on how to set up a new unmanaged vendor.
(There is also a PDF version of this guide attached to this page for your convenience.)
Please note: It is important to set up unmanaged vendors and items in the way we have outlined below to ensure that things like reports and orders function properly.
Adding a New Unmanaged Vendor
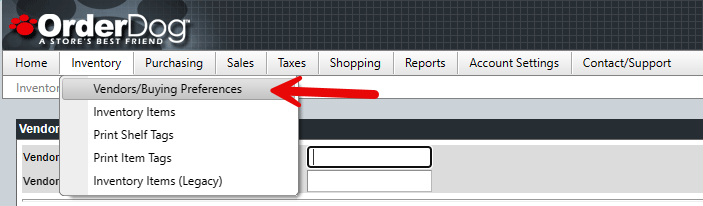
- On the OrderDog Portal, head to the Inventory > Vendors/Buying Preferences.
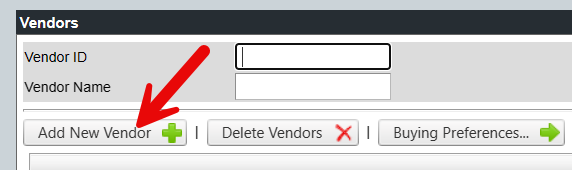
- Click the “Add New Vendor” button.
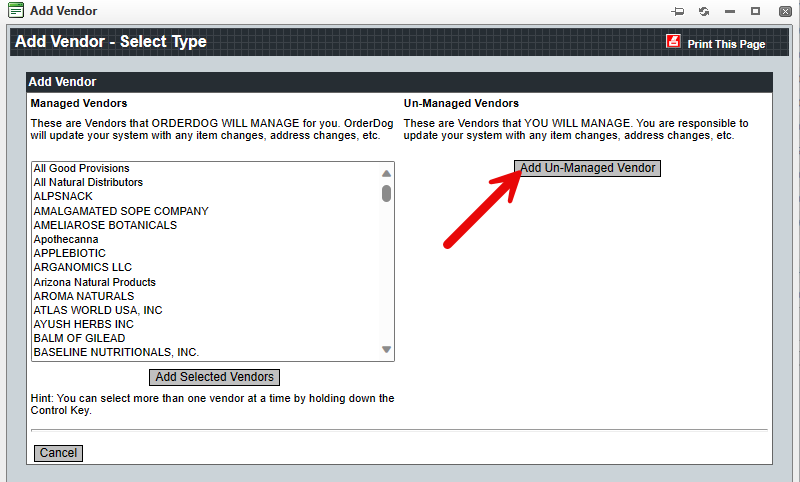
- In the “Add Vendor” screen, click the “Add Un-Managed Vendor” button.
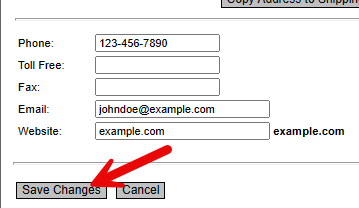
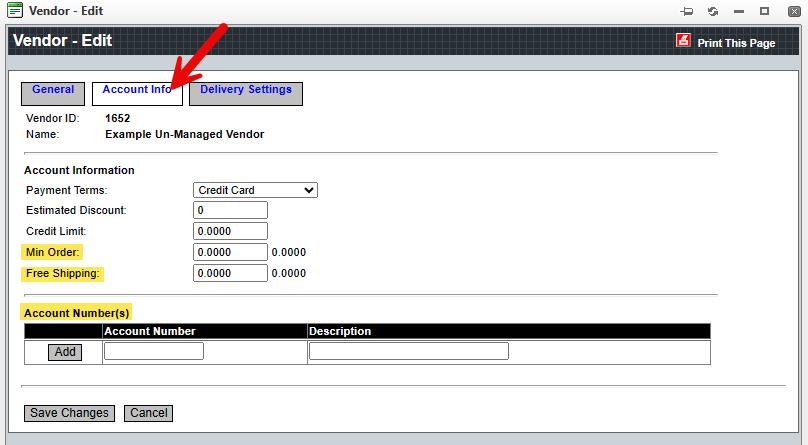
- This will open the “Vendor – Edit” screen where you will be required to fill out at least the highlighted field in the picture below.
- (Leave blank and system will auto-assign) –You should leave this field blank so you don’t enter an ID that is already being used by one of your other vendors.
- Copy Address to Shipping >> - If the shipping and mailing address are the same, simply click this button to transfer all the fields over to the shipping fields.
Make sure to press “Save Changes” when you’re done.
Adding Order Requirements
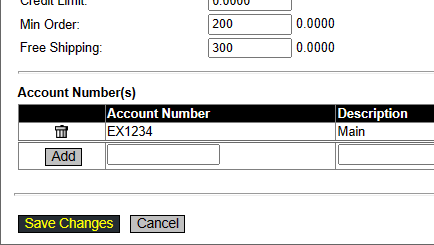
- Click on the “Account Info” tab. This is where we will put in the “Min Order” and “Free Shipping” for this vendor, as well as an “Account Number” while we’re at it.
- Once you have entered the minimum order requirement and the free shipping requirement, future purchase orders under these vendors will give you alerts if you do not meet these requirements.
- If you do not meet the minimum order requirement, the “Send Order” button will be missing, and you will not be allowed to send the order at all. Additionally, a notice will appear letting you know you do not meet the minimum requirement. You will have to add more items until you meet the requirement to send your purchase order to the vendor.
- If you do not meet the free shipping requirement, you will see a notice pop up saying you do not meet the free shipping requirement. You will have to add enough items that meet the monetary requirements to qualify for free shipping before sending out your order. You will still be able to send an order that does not meet the free shipping requirement.
- You can assign a description to each account number you input as an easy way to sort them. Fill in the corresponding fields, and then press “Add”. When you’re done adding account numbers, press “Save Changes”.
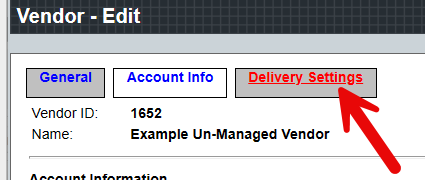
Adding Delivery Settings
- Lastly, click on the “Delivery Settings” tab.
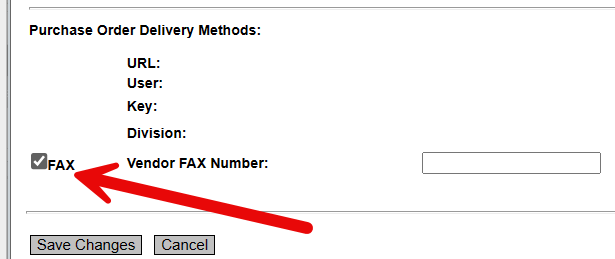
- Check the box next to the “FAX” field. Then enter in the vendor’s fax number if they have one.
- If the vendor does not have a fax number, we suggest checking the box anyway as you will not be able to save, send, and receive orders with our mobile scanner for unmanaged vendors in OrderDog without checking it. You do not have to fill out the “Vendor FAX Number” field.
- Press “Save Changes” to complete the initial set up of an unmanaged vendor.
Click on one of the following links for the next step in the Unmanaged Vendors & Items tutorial series, depending on your preference:
YOU’RE DONE!
There is also a PDF version of this guide attached to this page for your convenience.
McKennan Jones
Comments