Ordering just got a whole lot easier thanks to vendor preferences! Please watch the following video, or read the content below for a step-by-step guide on how to manage vendor preferences.
(There is also a PDF version of this guide attached to this page for your convenience.)
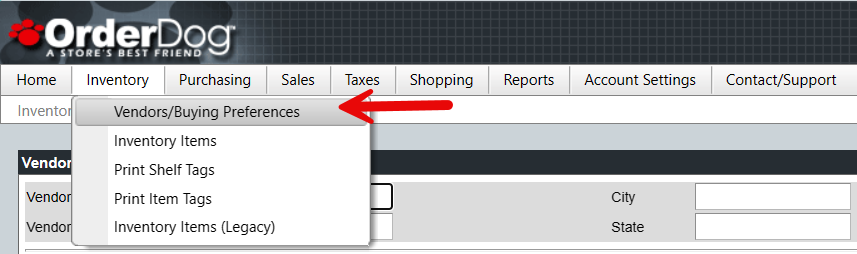
- Starting on the OrderDog portal, navigate up to the “Inventory” drop-down menu. Then, click on “Vendors/Buying Preferences”.
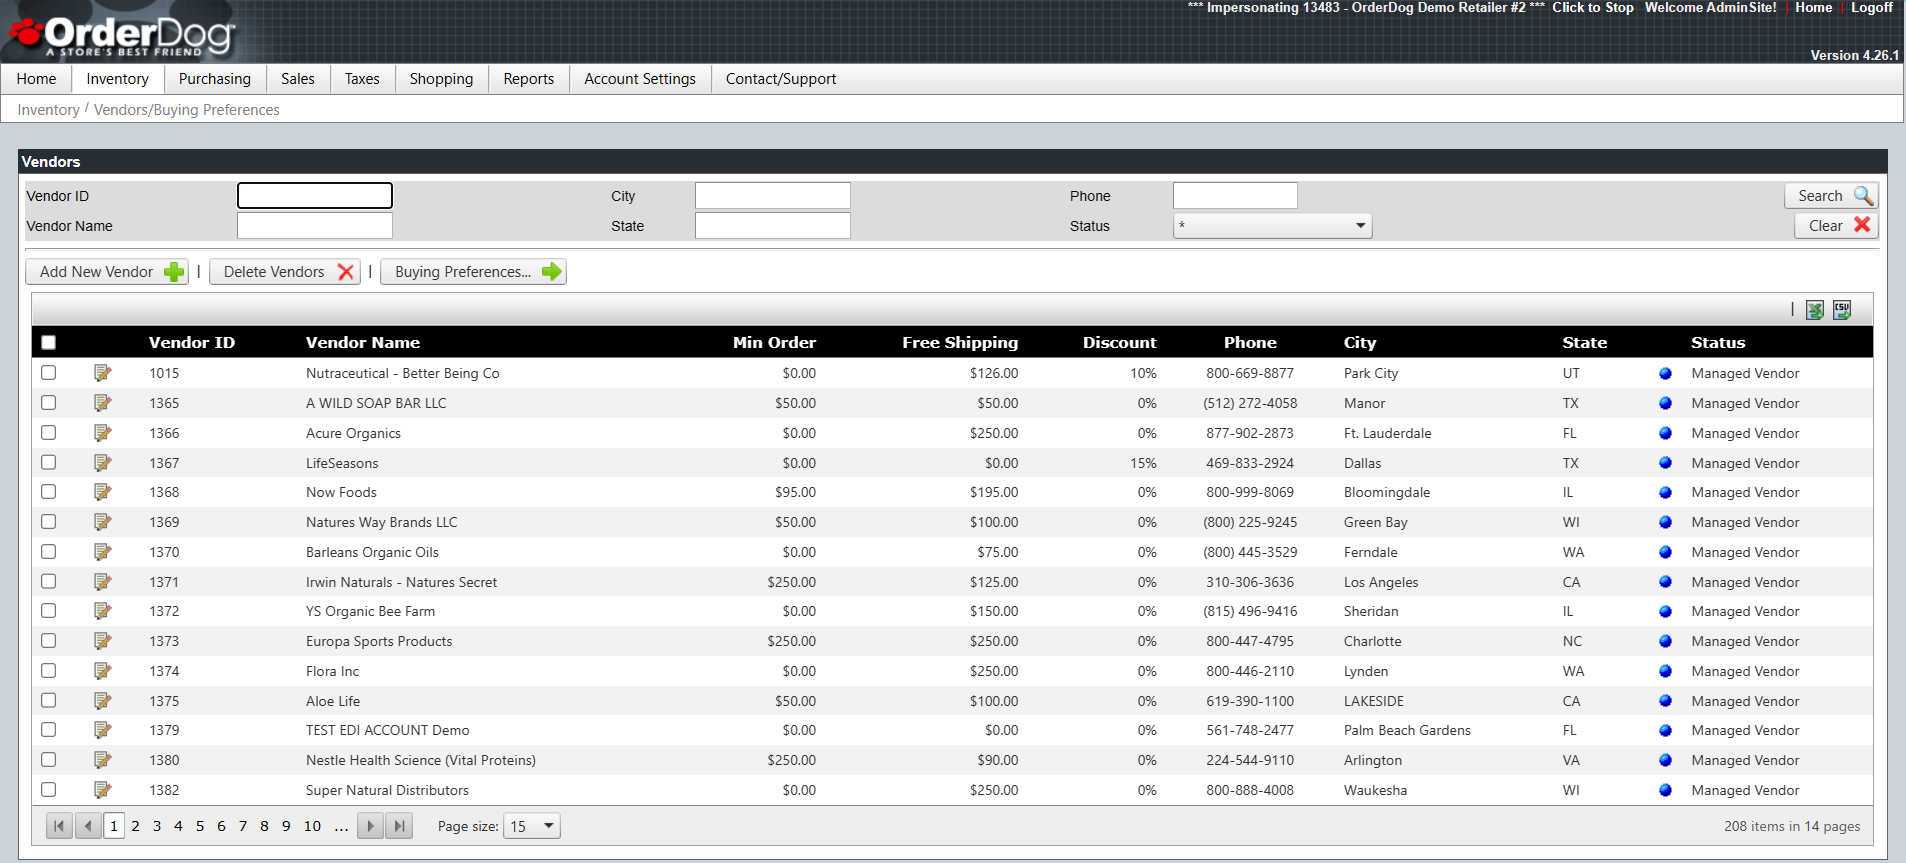
- You’ll be able to see and filter through all your added vendors on this page, which we added from the previous tutorial.
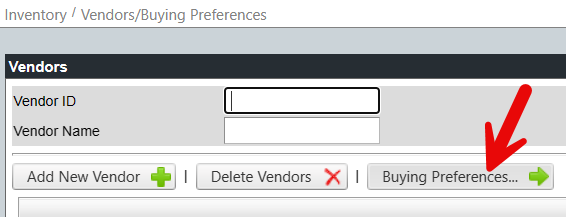
- To set up your preferences with vendors, click on “Buying Preferences”.
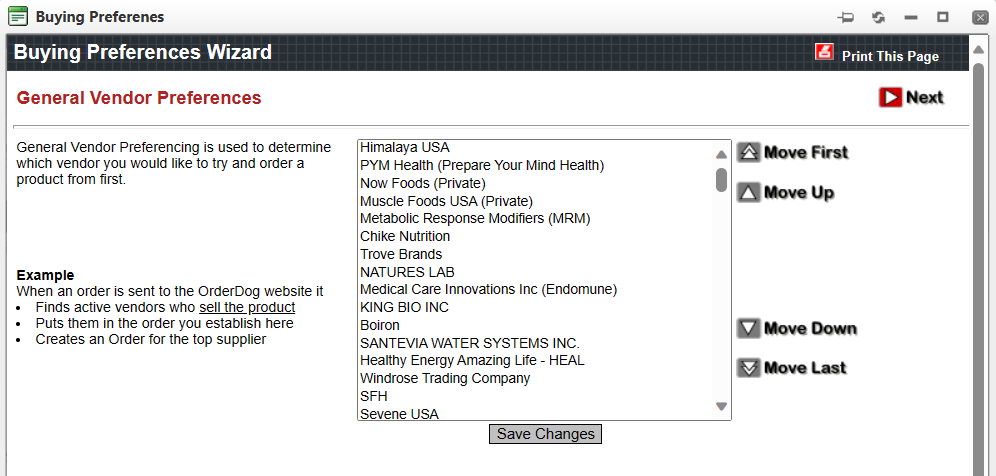
- This list will include all the vendors that you decide to add.
-
You will want to place the vendor that you want ordered from first over other vendors toward the top of the list. We’ll show you how to reorder your vendors based on preference now.
-
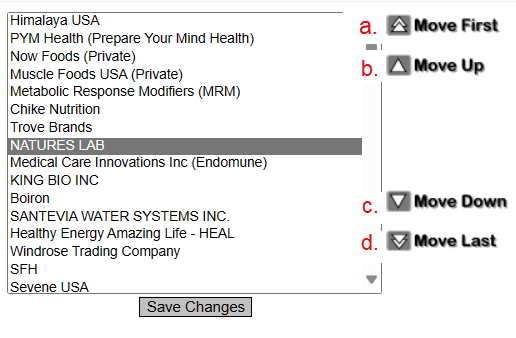
- Highlight vendor names and use the buttons on the right to order them.
- The “Move First” button will move the highlighted vendor to the top of the list.
- The “Move Up” button will only move the highlighted vendor up one slot at a time.
- The “Move Down” button will only move the highlighted vendor down one slot at a time.
- The “Move Last” button will move the highlighted vendor to the bottom of the list.
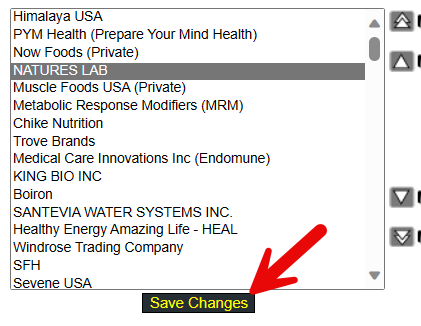
- Once you have your vendor preferences list in the correct order, click “Save Changes”. Close out of the screen when you are finished.
YOU’RE DONE!
Once you have set up your vendors, you are ready for the next step, which is the Overview on the Mobile Scanner.
There is also a PDF version of this guide attached to this page for your convenience.
McKennan Jones
Comments