Now that your scanner is set up, it's time to learn the ins and outs of the mobile scanner. Please read the content below for a step-by-step guide on navigating your mobile scanner.
(There is also a PDF version of this guide attached to this page for your convenience.)
This tutorial picks up where the last tutorial (Step 2.1 – Setting up your Mobile Scanner) left off.
This guide will teach you the very basics of navigating your mobile scanner. If you seek a tutorial on a more specific process, please reference our Online Knowledge Base and its growing library of tutorials for assistance.
This tutorial is best understood by following along on your mobile scanner. Go ahead and log in to the ODScanner app where you’ll be greeted by the homepage.


The first and most important part of using your scanner is making sure it is always in sync with your other devices, like your Point of Sale and the OrderDog portal.
Your scanner will automatically sync from time to time, but if you have just made a change on the portal or your point of sale, your scanner may not accurately reflect these changes until you have manually synced your scanner, or until your scanner does an automatic sync.
- To do a manual sync, click the cycling arrows icon in the top right corner of the screen.
- Wait for the sync to finish. You should be pulled back to the ODScanner homepage.
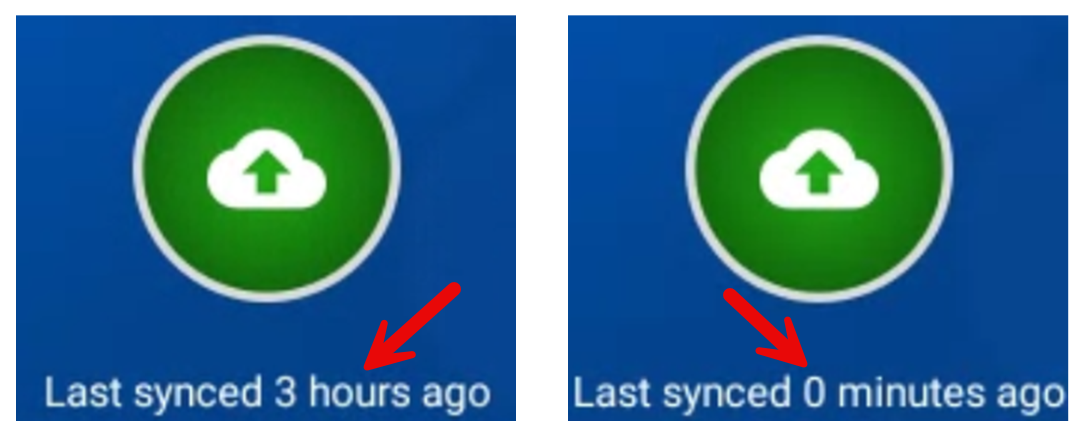
- To check the last time that the scanner has been synced, check the message below the green button in the top center of the screen. It will say “Last synced (x) minute(s) ago”.
An automatic sync will occur upon starting up your scanner if you have just started it back up from being powered off. Automatic syncs also occur every 8 hours after your last sync.
Homepage
Depending on your service level, you could have up to 6 different processes available to you on your homepage:
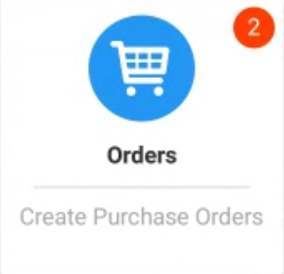
- Orders: This is where you can scan items to create purchase orders
and upload them to the portal for sending them off to vendors.
- Receiving: This is where you can receive purchase orders that you
sent through the portal and which have been fulfilled by the vendors. You can also create your own receiving document on orders sent outside of OrderDog.
- Items: This is where you can scan items and edit item information,
such as price, discounts, and more.
- Shelf Tags: This is where you can scan items and generate
a listing of shelf tags you want to print. Once you upload them to the portal, you can print them from there.
- Inventory Adjustments: This is where you can scan items and
adjust their on hand quantities.
- Inventory: This is where you can scan items and do a
physical inventory record.
Pending Work Statuses
Anytime you create a record of one of these processes for upload, you will get a red notification dot with a number inside of it, indicating the number of records that can be uploaded from their corresponding process.
For navigation purposes, we’ll go ahead and press the “Orders” process to see the general setup for each page.
Summary Screen
The first screen for each process is the summary screen.
In the top lefthand corner is a back arrow. Every page except for the homepage will have a back arrow for navigating between pages.

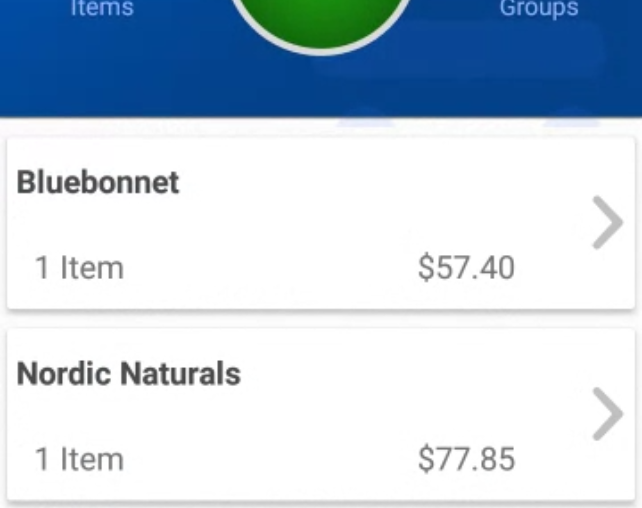
After scanning in items or records for one of the processes, you will see a list of every item or record you have scanned on this page. This page functions as a place to review and edit the details of all of your items and records on this page. Editing the quantities of items/records will be covered in a later section.
If you need to add more items/records to your order or other process, simply press the blue “+” button to go back to scanning and inputting details as you need to.
Go ahead and press “+” now so we can take a look at the “Ready to Scan” screen.
Ready to Scan Screen
On this screen, you can scan individual items to start creating orders for them, editing their information, etc., depending on which process you are going through.
Scanning
You can scan in the items, or you can use the icon which depicts a magnifying
Entering Quantities
Most processes will have you put in a specific quantity for the item you just
You can change the quantity in a number of ways:
- Press the “+” or “-“ button to edit the quantity.
- Tap on the number and manually enter the number on the touchscreen keyboard that appears. Just be sure to press the checkmark to confirm your changes to the quantity.
- Continue scanning the same item to increase the quantity.
Everything Autosaves
When you are ready to scan the next item, you don’t need to do anything
Grouping
The grouping icon is found at the top, which is a big circle with
Deleting
The last icon to cover is the trashcan. The trashcan will delete what’s on the
Detail Edit Per Item/Record Screen
Navigate to the summary screen by pressing the back arrow, and then click on an item/record you wish to look into. This subsection of the summary screen differs between processes, but here, you will be able to edit quantities for items scanned, view changes made to an item for item edits and even change those edits.
If you want to remove an item/record off of the list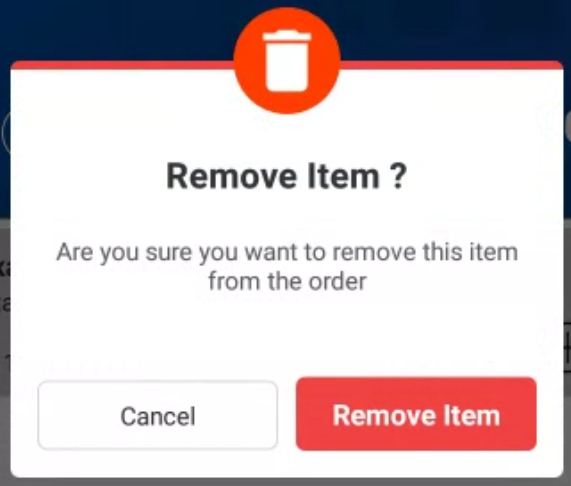
When you are done editing your item records, press the back button to navigate back to the home screen.
Uploading to the Cloud
The green button with the arrow in the cloud is the upload button.
For instance, if you have orders you want to upload, shelf tags, and item edits, you can use the upload button on the homepage to upload all the orders, shelf tags, and item edits at once. Anything with a red notification mark will upload if you use the homepage upload button.
If you are on the Order Summary Screen, then pressing the upload button will upload all the orders you have on that screen, and so on and so forth with each page getting more specific as you tap into different sub-screens.
Congratulations!
You have successfully gone through the basics of the mobile scanner! If you seek a tutorial on a more specific process, please reference our Online Knowledge Base and its growing library of tutorials for assistance.
And of course, you may always contact customer support for assistance.
Happy scanning, and with that…

YOU'RE DONE!
Once you have you've taken a tour of your mobile scanner, you are ready for the next step, which is Step 2.4 - Using the Mobile Scanner Accessories.
There is also a PDF version of this guide attached to this page for your convenience.
McKennan Jones
Comments