It's time for your Point of Sale to take center stage! Please read the content below for a step-by-step guide on setting up your point of sale for the first time.
(There is also a PDF version of this guide attached to this page for your convenience.)
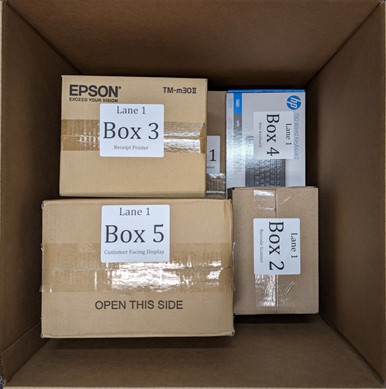
Contents List (Boxed by Lane):
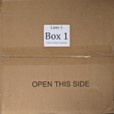
Box 1 - Point of Sale Terminal
- Elo Z30 Android POS System

Box 2 - Barcode Scanner
- Elo Z30 Android POS System
- Scanner USB Cable
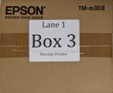
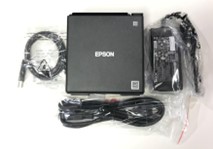
Box 3 - Receipt Printer
- Receipt Printer
- Printer Power Adapter
- Printer USB Cable
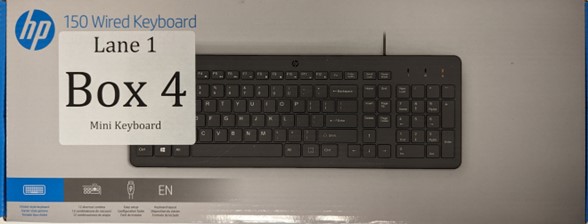
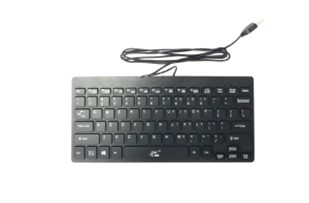
Box 4 - Mini Keyboard with 10 Key
- Mini keyboard with 10 Key
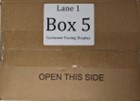
Box 5 - Customer Facing Display Bundle (if applicable)
- Elo 1002L 10.1" Touchscreen Monitor
- Elo Z10 Stand
- USB-C Video Cable
Items Needed
- Phillips-Head Screwdriver
- Ethernet Cable (Wired Internet Connection)
- Receipt Paper for Printer
Box Components
Your Point of Sale box will contain all components for one (1) Point of Sale Lane (except Cash Drawer, sent separately).
NOTE: Set up the Point of Sale where the Lane will be used.
To avoid confusion: If setting up more than one (1) Point of Sale Lane, keep lane components together. Open and set up each lane separately. The boxes will be marked by Lane # and components are configured to function only on assigned Lane #.
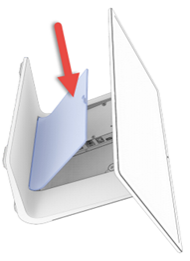
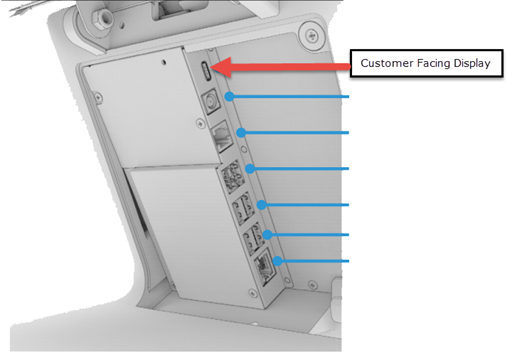
Step 1 - Point of Sale Lane Terminal
- Open Box 1 and remove the POS (Point of Sale) Terminal
- Gently lean terminal back and lay it down.
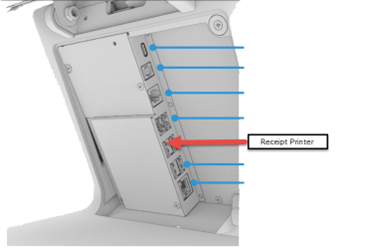
- Remove the screw and cable cover to access the I/O connections. (Keep the screw separate to replace after peripherals are all connected.
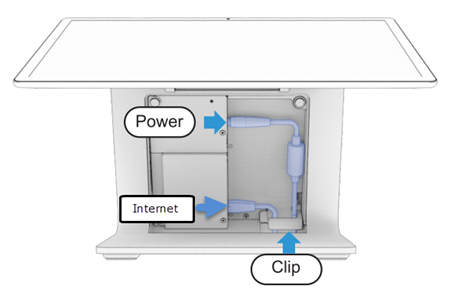
- Route the power cable and internet cable through the hole in the bottom of the stand and connect as shown.
Step 2 - Connecting Barcode Scanner
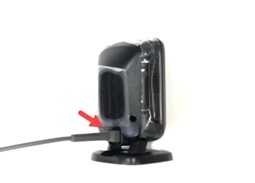
- Open Box 2 and remove the Scanner and the Scanner Cable.
- Plug the Scanner Cable into the back of the Scanner.
- Route the Scanner USB Cable through the hole in the bottom of the stand and connect as shown.

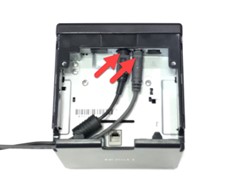
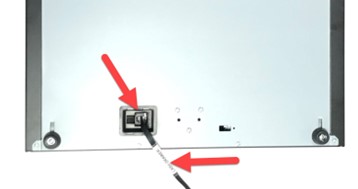
Step 3 - Connecting Receipt Printer
- Open Box 3 and remove the USB Cable (Type A to B connections), the Receipt Printer, and the Printer Power Adapter.
-
Install receipt paper (not included) into the Printer.
- NOTE: The printer can print receipts from Top or Front, see enclosed Epson instructions to switch configuration.
- Remove the bottom cover.
- Plug the Printer Power Adapter and the USB Cable (Type B) into the Receipt Printer as shown.
- Route the printer USB (Type A) cable through the hold in the bottom of the stand and connect as shown.
Step 4 - Connecting Mini Keyboard
- Open Box 4 and remove the Mini Keyboard.
- Route the keyboard USB cable through the hole in the bottom of the stand and connect as shown.

Step 5 - Connecting Customer Facing Display (If Applicable)
- Open Box 5 and remove the Customer Facing Display.
- Route the USB-C cable through the hole in the bottom of the stand and connect as shown.
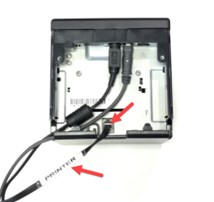
Step 6 - Connecting Cash Drawer
- Open the Cash Drawer Box and the Cable (labeled "Cash Drawer" and "Printer" on each end connecter).
- Plug the Cable (end labeled "Cash Drawer") into the bottom of the Cash Drawer.
- Plug the Cable (end labeled "Printer) into the bottom of the Receipt Printer.
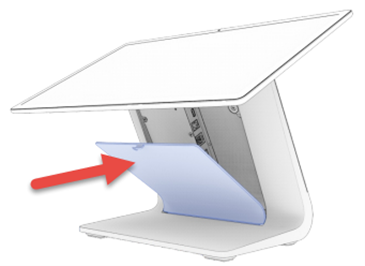
Step 7 - Close Cable Cover and Power Up
- Replace cable cover door and secure with screw.
- Plug the Point of Sale Power Supply Adapter and the Receipt Printer Power Supply Adapter into an electrical receptacle. (Recommended: Surge Protector and/or Battery Backup).
- Set the Point of Sale upright and arrange peripherals.
- Power on the Point of Sale found on the back-middle of the Touchscreen and power on the Receipt Printer.
YOU'RE DONE!
Once you have your point of sale set up, you are ready for the next step, which is Step 4.2 - Navigating the Point of Sale.
There is also a PDF version of this guide attached to this page for your convenience.
***We are here to help! If you are missing any of the above listed items or have any issues in setting up your Point of Sale, please contact OrderDog immediately so we can help address the problems you may be having.

Here is our contact information:
Email: support@orderdog.com
Call: 1-866-673-3736, opt 2
Our hours: 8 AM – 6 PM CST
Monday – Friday
After Hours Support Available
McKennan Jones
Comments