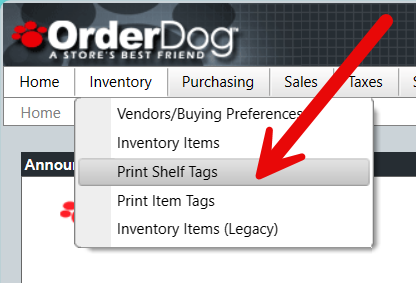
- Starting on the portal, navigate under “Inventory” and click “Print Shelf Tags”.
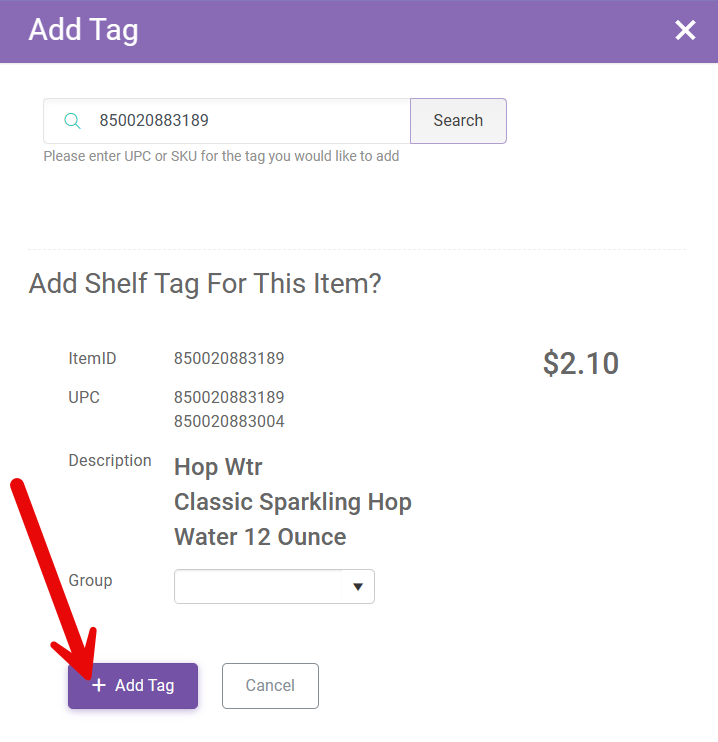
- If you uploaded the shelf tags from the mobile scanner, go ahead and locate the shelf tags now. If you did not, click the “New” button, search using either UPC for the pack item, and click “Add Tag”. If you need to make tags for every pack version, repeat this process to queue shelf tags for the other packs.
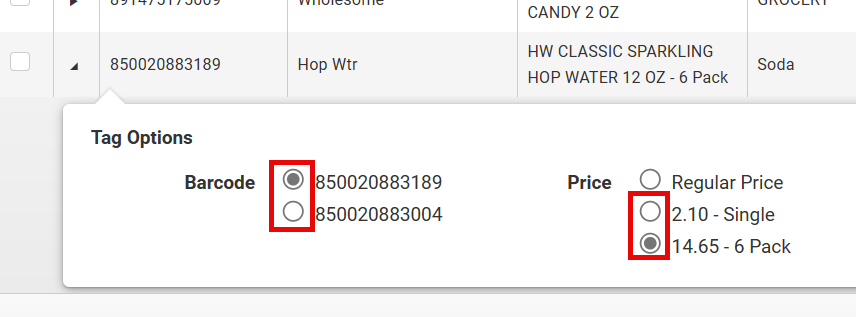
- Once you find the item in your queue, click the little triangle next to the “Item ID” section to bring up “Tag Options” for this set of UPCs.
- For the tag options, select the UPC that should be on the barcode if it isn’t selected already. Then select the price that corresponds with that UPC.
- Once you have your desired options selected, you’re ready to print your pack shelf tag. Repeat the above process for all of the pack shelf tags you wish to queue.
YOU'RE DONE!
If you would like to learn how to set up pack pricing on the mobile scanner, you can follow our tutorial for Setting Up Pack Pricing (Mobile Scanner).
If you would like to learn how to set up pack pricing on the portal, you can follow our tutorial for Setting Up Pack Pricing (Portal).


McKennan Jones
Comments