Please read the content below for a step-by-step guide on how to update employee permissions.
(There is also a PDF version of this guide attached to this page for your convenience.)
Before We Start
IMPORTANT: We highly recommend that only the owner(s)/supervisor handles the employee permissions for your practice’s needs and general security. OrderDog will not help make changes to employee permissions. As such, supervisors will be responsible for helping with password resets and granting or removing access to the different OrderDog platforms and processes. This guide will help set the supervisor up for success when it comes to managing their employee permissions.
The supervisor should already have full access to employee permissions. If there are multiple owners/supervisors, we suggest having individual accounts for both people to login with and use so a record is kept of which user has made what changes if you are not already doing so.
Lastly, we will not be covering how to completely set up a new employee in this guide, only setting up permissions.
Navigating the Permissions Section
Let's first navigate to the Employee Permissions page.
- Starting on the OrderDog portal, navigate under “Account Settings” and click “Employees”.
NOTE: This is the “Employees” page. If you would like to follow along without making any changes, we suggest pressing the “New” button and skipping the initial employee set up process for now.
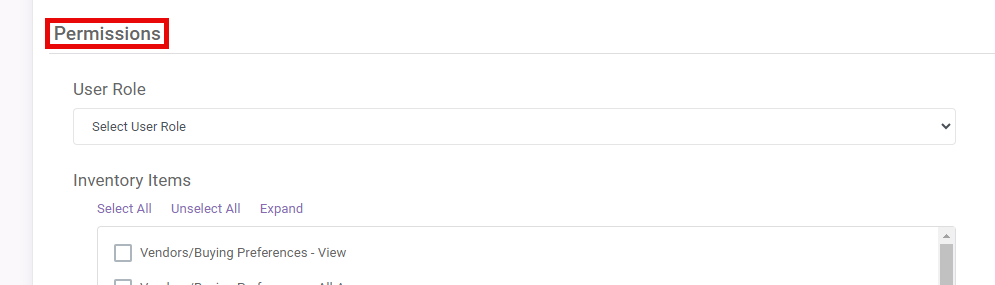
- After pressing “New”, scroll past the initial employee information until you see the section called “Permissions”.
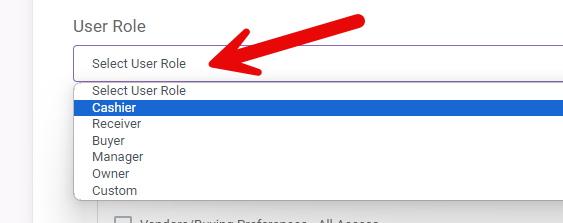
The permissions under this section will only affect the current employee you are editing. - You will first have the option to select a “User Role”. Select any role that you would like to start with. You can also start from scratch by selecting “Custom”. No matter the role you select, you will be able to completely customize the permissions for the employee.
User roles can help you get started by checking the boxes of a set of permissions based on the role you select. For instance, the Cashier role can only login to the Point of Sale. They will not be able to access the portal at all. If this default role sounds like a good fit for your cashiers, then you might start by selecting this role as a base.
- The general categories of permissions are as follows:
- Inventory Items
- Ordering
- Receiving
- Shelf Tags
- Sales
- Customers
- System
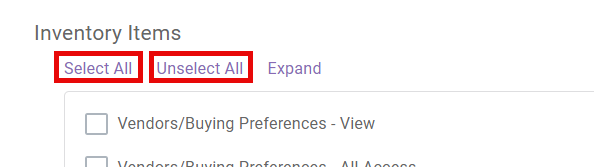
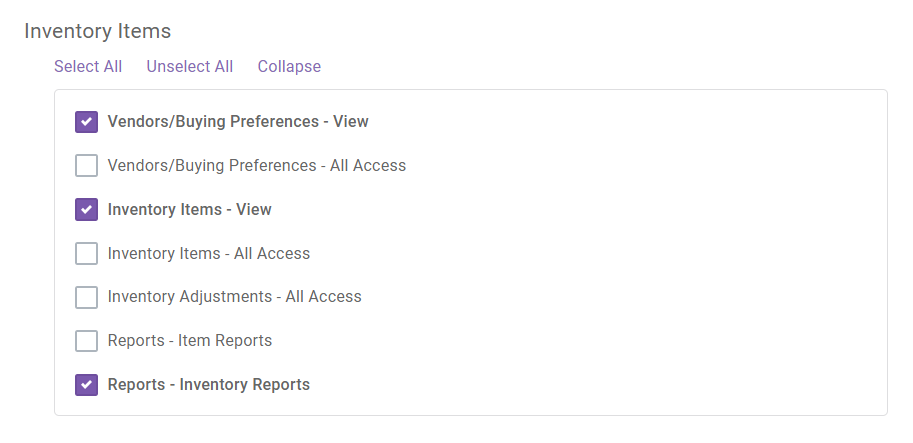
- Above each of these categories is the option to “Select All” or “Unselect All”. If you know you want the employee to have all permissions associated with this category, you can press “Select All” to check all of the boxes under this category. Likewise, press “Unselect All” to uncheck all of the boxes in the category if you don’t want the employee to have any of the permissions under that category.
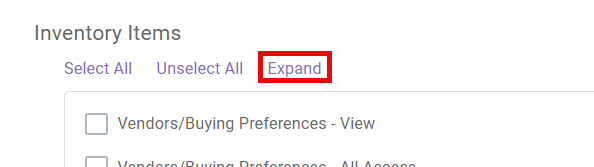
- Also available above most of the categories is the “Expand” option. As you navigate this page, be sure to click the “Expand” option above a category to make sure you are seeing all of the permissions you have access to changing. You’ll also be able to scroll on these extended sections if you do not expand the boxes.
- Check the box(es) for permissions you would like to grant to the employee. Uncheck the box(es) for permissions you would like to restrict from the employee.
- When you have checked/unchecked all of the permissions you want for the employee you’re editing, be sure to scroll down to the very bottom of the page and press “Save Changes”.

General Permission Guidelines
- Generally, these are the types of permissions you’ll see for many of the categories:
- View – If this box is checked, then the employee will be able to view the page associated with this permission. If the box is unchecked, then the employee will not be able to view or navigate to this page at all.
- All Access – If this box is checked, then the employee will have full access to the page associated with this permission, meaning they can fully utilize the page’s features. If the box is unchecked, then the employee will not be able to do anything on this page, even if they can view it as well.
- Reports – If this box is checked, then the employee will be able to view and utilize the section of reports associated with this permission. If the box is unchecked, then the employee will not be able to access this section of reports at all.
- Login – If this box is checked, then the employee will have the ability to log onto the device/platform associated with this permission. If the box is unchecked, then the employee will not be able to log onto the device/platform at all.
- If a permission does not have “View” or “All Access” next to it, then checking the box will mean that the employee will be able to both view the page and fully utilize the features associated with this permission. If the box is unchecked, then they will not be able to view the page and fully utilize the features associated with this permission.
- Here are a few specific permissions we would like to point out:
- Ordering > “Orders – Create (everything except SEND)” – a great permission to enable if you need many hands to help with creating orders, but don’t want the risk of an unreviewed order getting sent out. This will help you avoid duplicate orders, orders that aren’t quite accurate to what needs to be ordered, and other mistakes that an employee with full access might make.
- System > “Account Settings” – The permissions with the prefix “Account Settings” need to be carefully considered. Supervisors should have these permissions always checked. For managers, we suggest having the “View” options for the “Company Info” and “Employees/Users” permissions checked. For all other employees, we strongly advise unchecking these boxes to ensure that only one person has access to both viewing and updating the information on these pages.
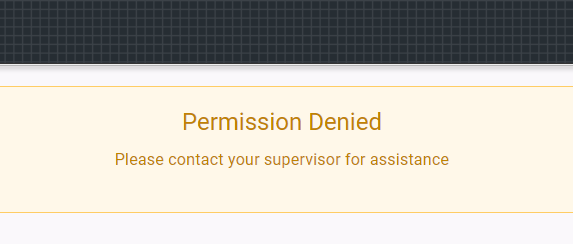
- Employee permissions actively restrict use of certain pages/processes rather than just hiding them. If an employee attempts to do something that they should not be able to do based on their permissions, then they will get a “Permission Denied” notice, where they will be prompted to ask their supervisor for help.
- To help make sure employees don’t access pages or processes that they shouldn’t, “View” permissions that are unchecked will hide the menu options to navigate to these pages.
Best Practices
It is important to make sure that the supervisor is reviewing employee permissions often as employee staffing changes or roles change.
We suggest that every individual person has their own login so a clean record is kept of what changes were made by who, as well as proper permissions are set for each individual person.
If you are passing off your store to another owner/supervisor, make sure the new owner has an account that has been set up with full permissions BEFORE restricting access on the old owner/supervisor account.
YOU’RE DONE!
There is also a PDF version of this guide attached to this page for your convenience.
McKennan Jones
Comments