Please watch the following video, or read the content below for a step-by-step guide on how to apply a customer group on the point of sale.
(There is also a PDF version of this guide attached to this page for your convenience.)
This tutorial picks up where the last tutorial (Creating a Customer Group) left off.
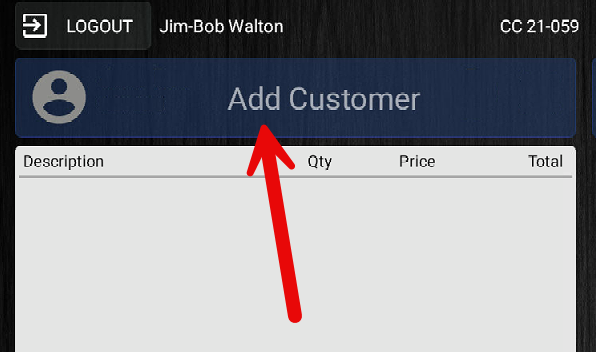
- Starting on the main sales screen, tap on the “Add Customer” button in the top left corner of the screen.
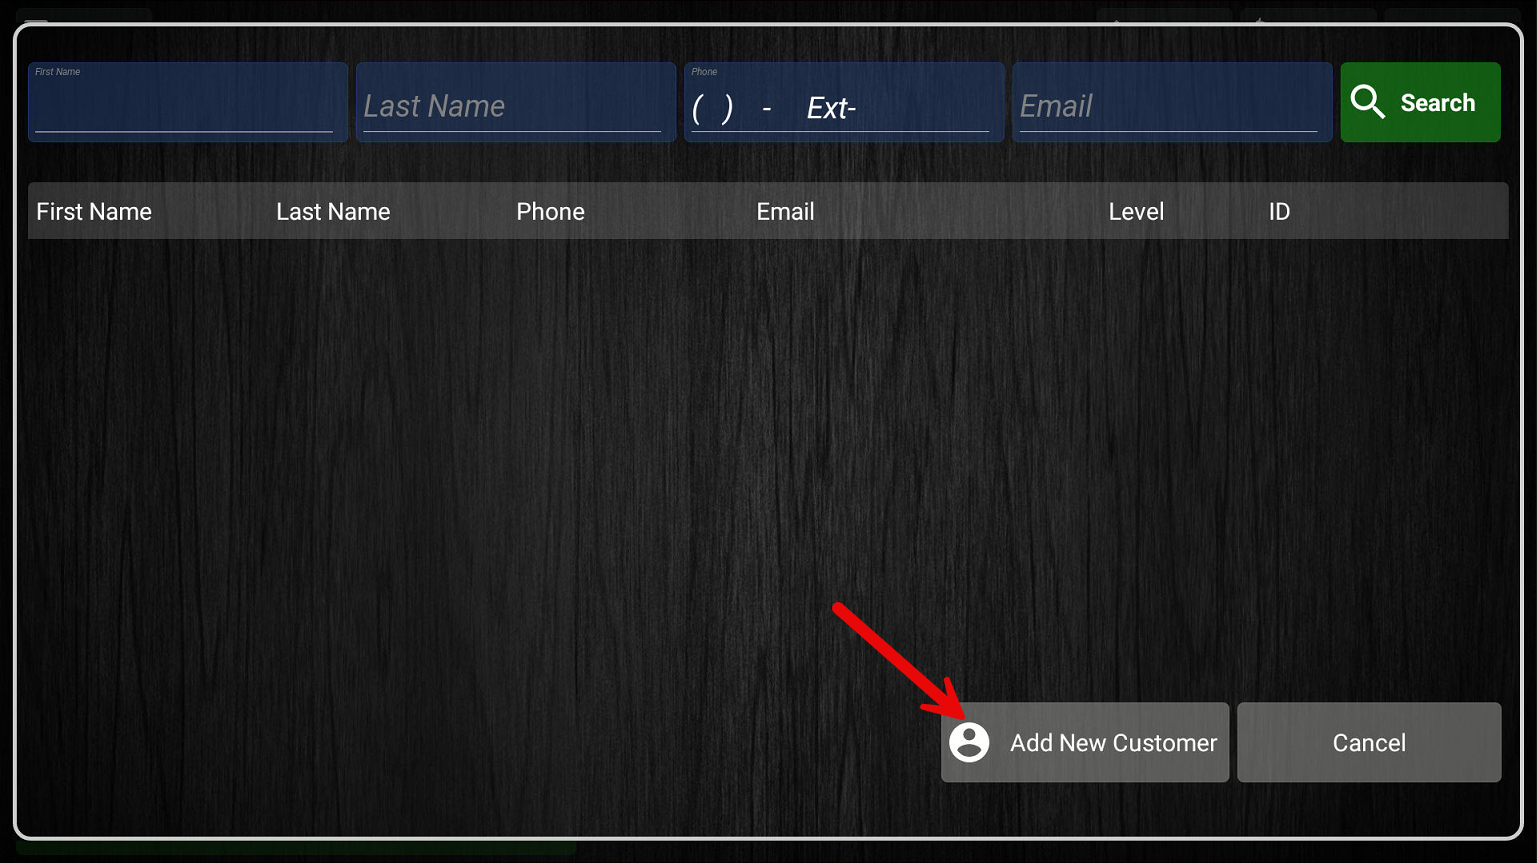
- This is the customer lookup screen. Here, you can either add a new customer or edit an existing customer record. First, we’ll add a new customer by pressing the “Add New Customer” button.
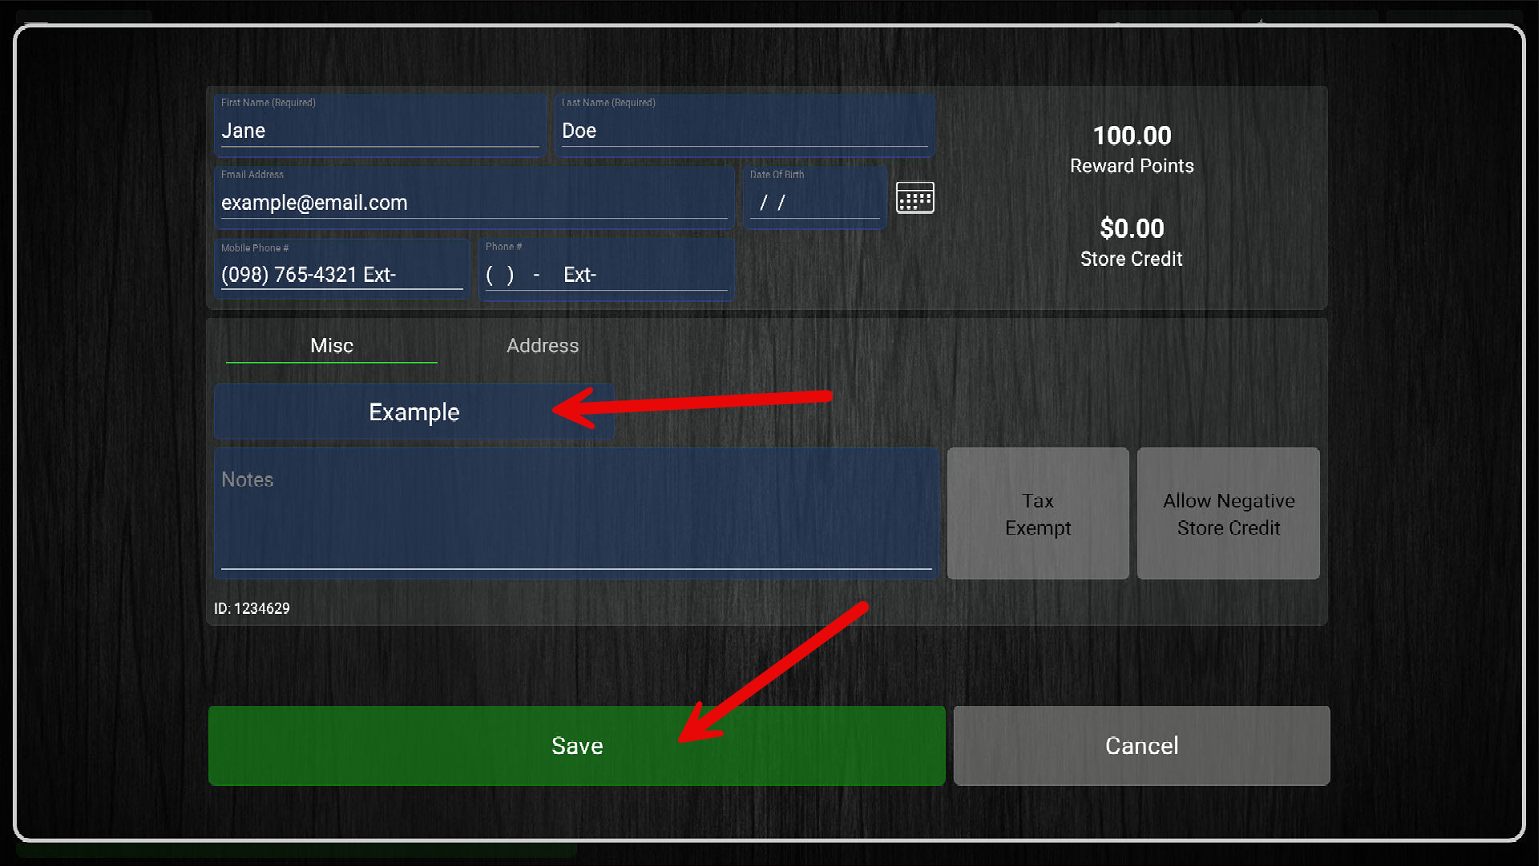
- Fill in any desired information or notes about the customer on this screen. For the best customer record tracking experience, we recommend/require filling out the following:
- First Name
- Last Name
- Email - Useful for emailing their receipts or other store uses.
- Phone Number – This will allow customers to input their phone number on the customer facing display on their next visit.
- Customer Group – Select the customer group they fall under, i.e. Standard, Employee, Loyalty, Senior, etc. This will apply the discounts associated with this customer group automatically to transactions with this selected customer. The default customer group is Standard. Select Standard if the customer does not fall into a special group.
- Once you have filled out the above information, press “Save”, and they will be added to the transaction. If you want to edit this customer record or another existing customer record, press the “Add Customer” button at the top left again (you’ll have to remove the current customer first by pressing the “X” button if you didn’t complete the current transaction).
- Next, use the different filtering fields to locate the desired customer record. Click on their name to add them to the transaction.
- Press on their name again to edit their customer record. Here, you can update the customer group, as well as any other fields you wish to edit. When you’re done, press “Save”.
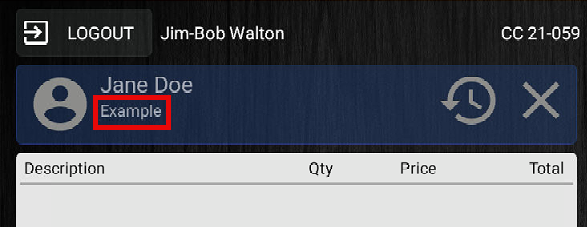
- You can now see that their customer group has been updated.


If you would like to create discount rules for your store, you can follow our Creating a Discount Rule for a Customer Group tutorial.
YOU’RE DONE!
There is also a PDF version of this guide attached to this page for your convenience.
McKennan Jones
Comments