This tutorial only covers the configuration of the scanner scale itself. If you would like to know how to assemble the scanner scale, refer to the guide included with your scanner scale, or reference our guide called Assembling the Z30 Integrated Scanner Scale Combo.
After you have assembled the Z30 scanner scale combo and plugged it into the point of sale, you’ll have to configure it.
Scanner Configuration
Please Note: We recommend printing out the PDF we’ve included titled “Z30 Scanner Control Panel Configuration Barcodes” for ease of use.
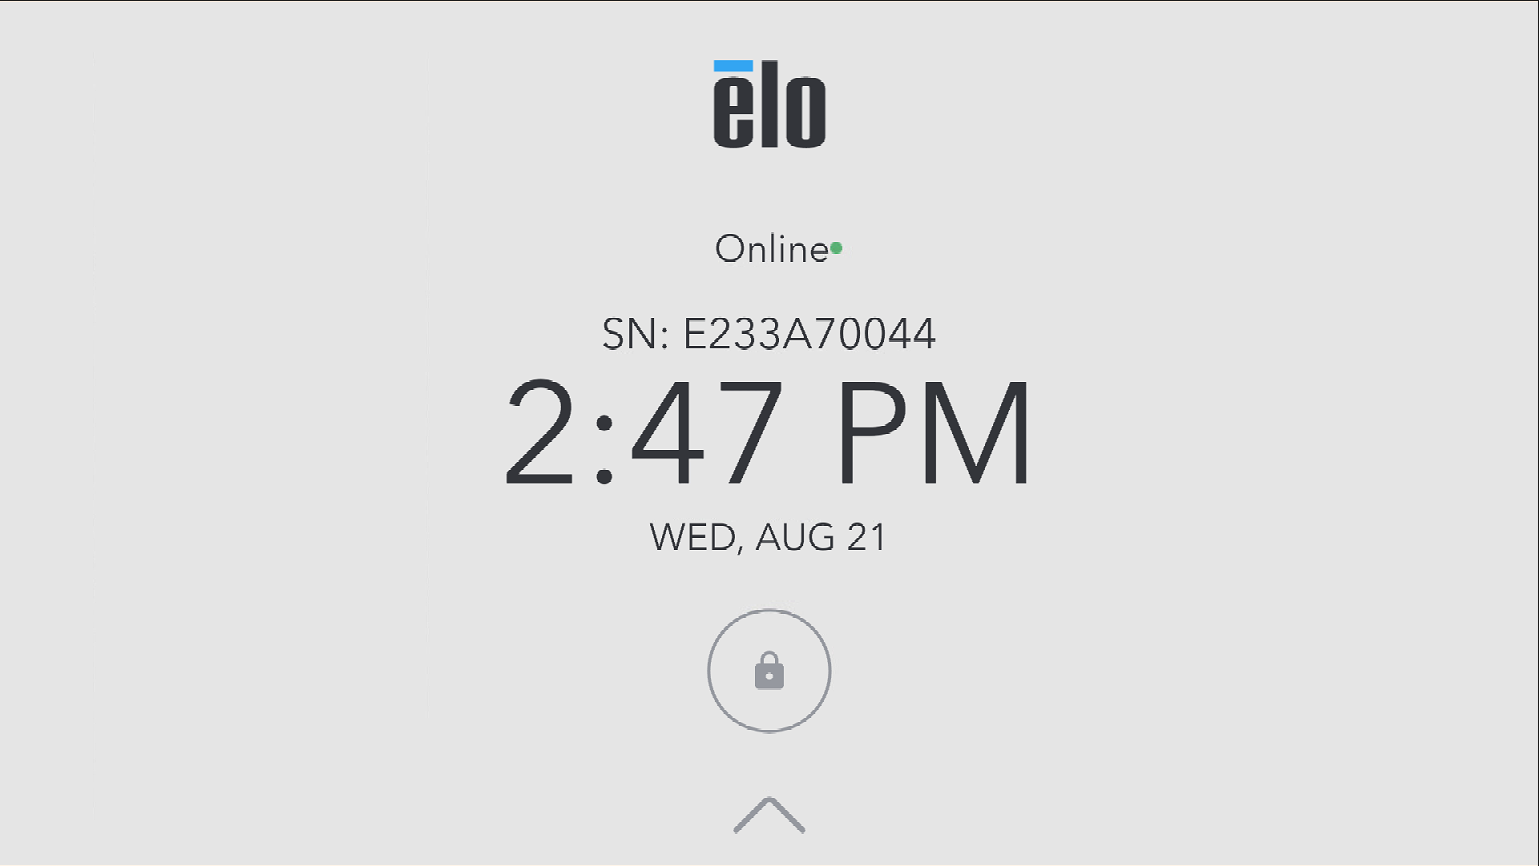
- Starting on the point of sale, feel for or look for the two buttons located in the bottom-middle region of the back of the tablet. Briefly press both buttons at the same time to display the Control Panel.
- Swipe up on the screen to get to the “Control Panel Password” screen.
- In the “Password” field, enter “0D0g” (zero, capital d, zero, lowercase g). Press “Enter” on your keyboard.
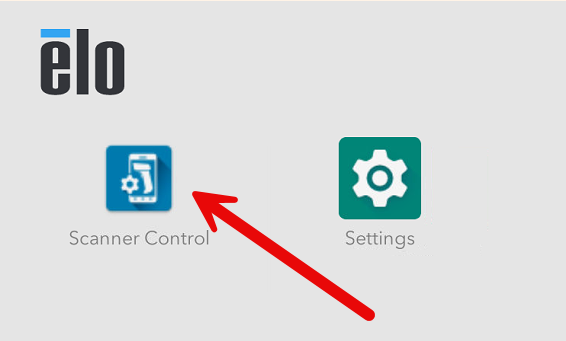
- Click the “Scanner Control” app.
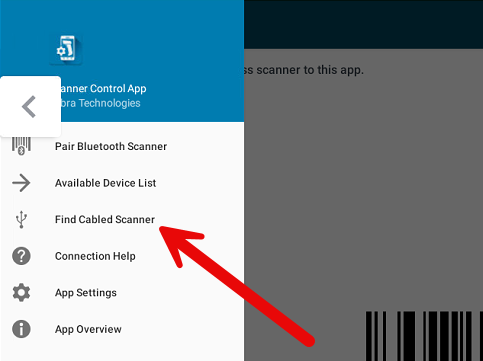
- Press the hamburger menu in the top left corner.
- Press “Find Cabled Scanner” on the pop-out menu.
- Using the “Z30 Scanner Control Panel Configuration Barcodes” PDF, scan the first barcode, which is labeled “1. Com Protocol = SNAP!”.
- If you have a pole display, scan the other barcode labeled “2. Enable Scale Display Configuration (1)”.
- The scanner is now paired. You can exit out of the control panel now, or wait for the point of sale to exit out of the control panel on its own.
- Now, scan the six “Additional Z30 Scanner Configuration Barcodes” which are included in the same PDF as before, making sure to scan each one.
- Please Note: There is no harm in accidentally scanning a barcode more than once and you don’t have to scan them in any particular order, but you’ll want to make sure that each barcode has been scanned.
We have finished configuring the scanner side of things. Now onto the scale itself.
Scale Configuration
Disclaimer: The scale must be powered on for at least 30 minutes before calibration and there should be nothing on it.
Please Note: We recommend printing out the PDF we’ve included titled “Z30 Scale Weight Configuration Barcodes” for ease of use.
Additional Materials: You’ll need to have an object/objects that weigh exactly 25 lbs on hand so you can calibrate your scale properly.
If you get lost anywhere during this process, you can try using the manufacturer’s pdf and video guides on calibrating the scanner, which can be found here: https://supportcommunity.zebra.com/s/article/MP70xx-Scale-Calibration?language=en_US
*There is a 30 second time limit for calibrating the scale. If the time runs out, you will have to start again.*
- On the scale itself, press and hold the zero “>0<” button and the volume button at the same time for five seconds.
- Release the buttons after you hear a beep, then quickly press both buttons at the same time again. If done correctly, you should hear five long beeps. You have now entered calibration mode.
- Using the “Z30 Scale Weight Configuration Barcodes” PDF, scan the first barcode, which is labeled “Pounds (1)”. Then scan the other barcode labeled “Low Vibration Sensitivity (1)”.
Note: For this next part, to tell which calibration step you’re on, you can double check your pole display, or reference the internal display within the scale itself. The internal display will blink the letters for the current setting it is on. Otherwise, be sure to follow along closely to ensure proper calibration. - First, we’ll calibrate no weight. The pole/internal display should read “C00LB”. Make sure nothing is on the scale, and then press the zero “>0<” button.
- The pole/internal display should now read “CAL25”. Place the object(s) that weigh 25 lbs on the center of the scale. After a moment, press the zero “>0<” button.
- If successful, the pole/display should read “CAL S/P” Remove the object(s) from the scale.
- Touch the zero “>0<” button again. The scale will beep 3 times to confirm calibration was successful and that the settings we saved.
Please Note: If at any point you made a mistake or the calibration fails, scan the barcode labeled “Reset Settings” on the “Z30 Scale Weight Configuration Barcodes” PDF, then start the process over from step 1 of the Scale Configuration section of this tutorial.
Testing Your Scale
- Scan/manually select a product that has the “Prompt for Weight” setting turned on. The weighing screen should pop up.
- Set the item on the scale, and make sure that the “Scale Weight” updates with the weight of the item on the scale.
- After verifying that everything looks correct, you can select “Add Weight” to add the weighed item to the transaction with its corresponding price.


McKennan Jones
Comments